Guest Presenter: Jim Phillips of Inshore Sculpture
Woodworkers Club of Houston
August 2017 Projects
Home July 17 Special Event September 2017 Projects All Projects
(Click on thumbnails to view larger images)
GUEST SPEAKER and SHOW n TELL PROJECTS
|
|
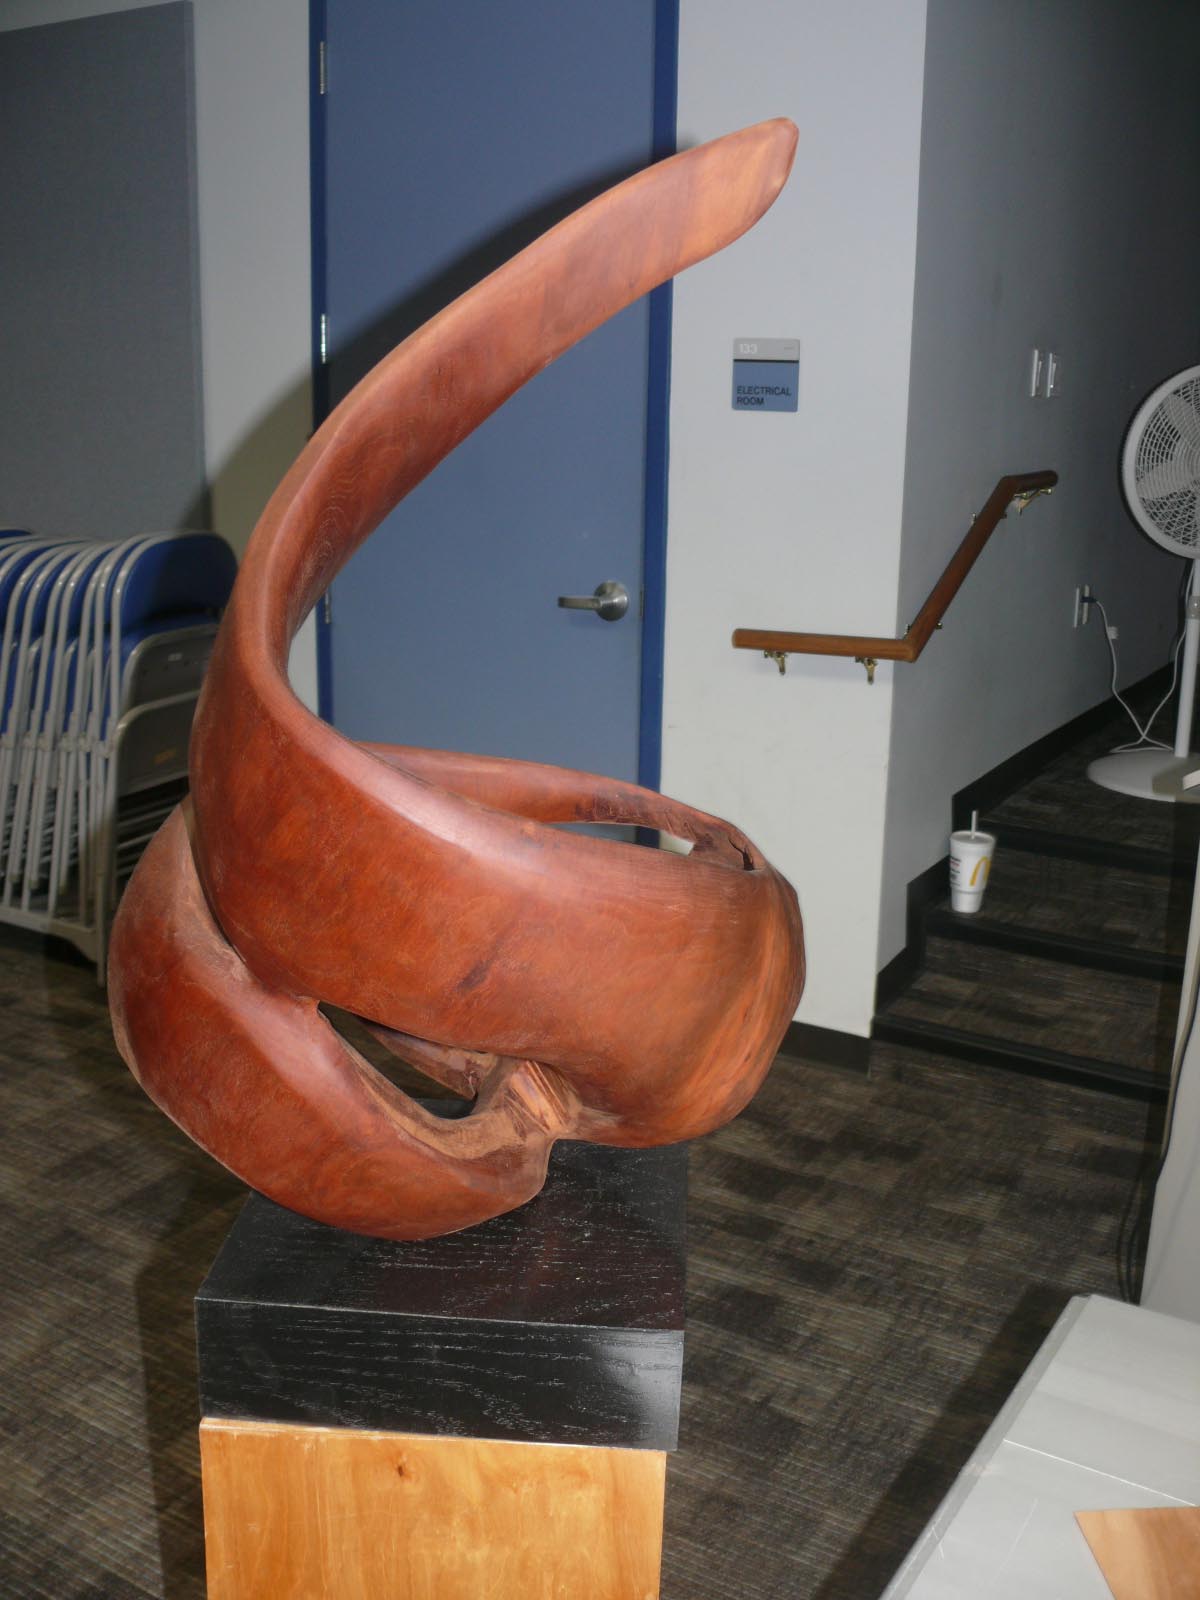
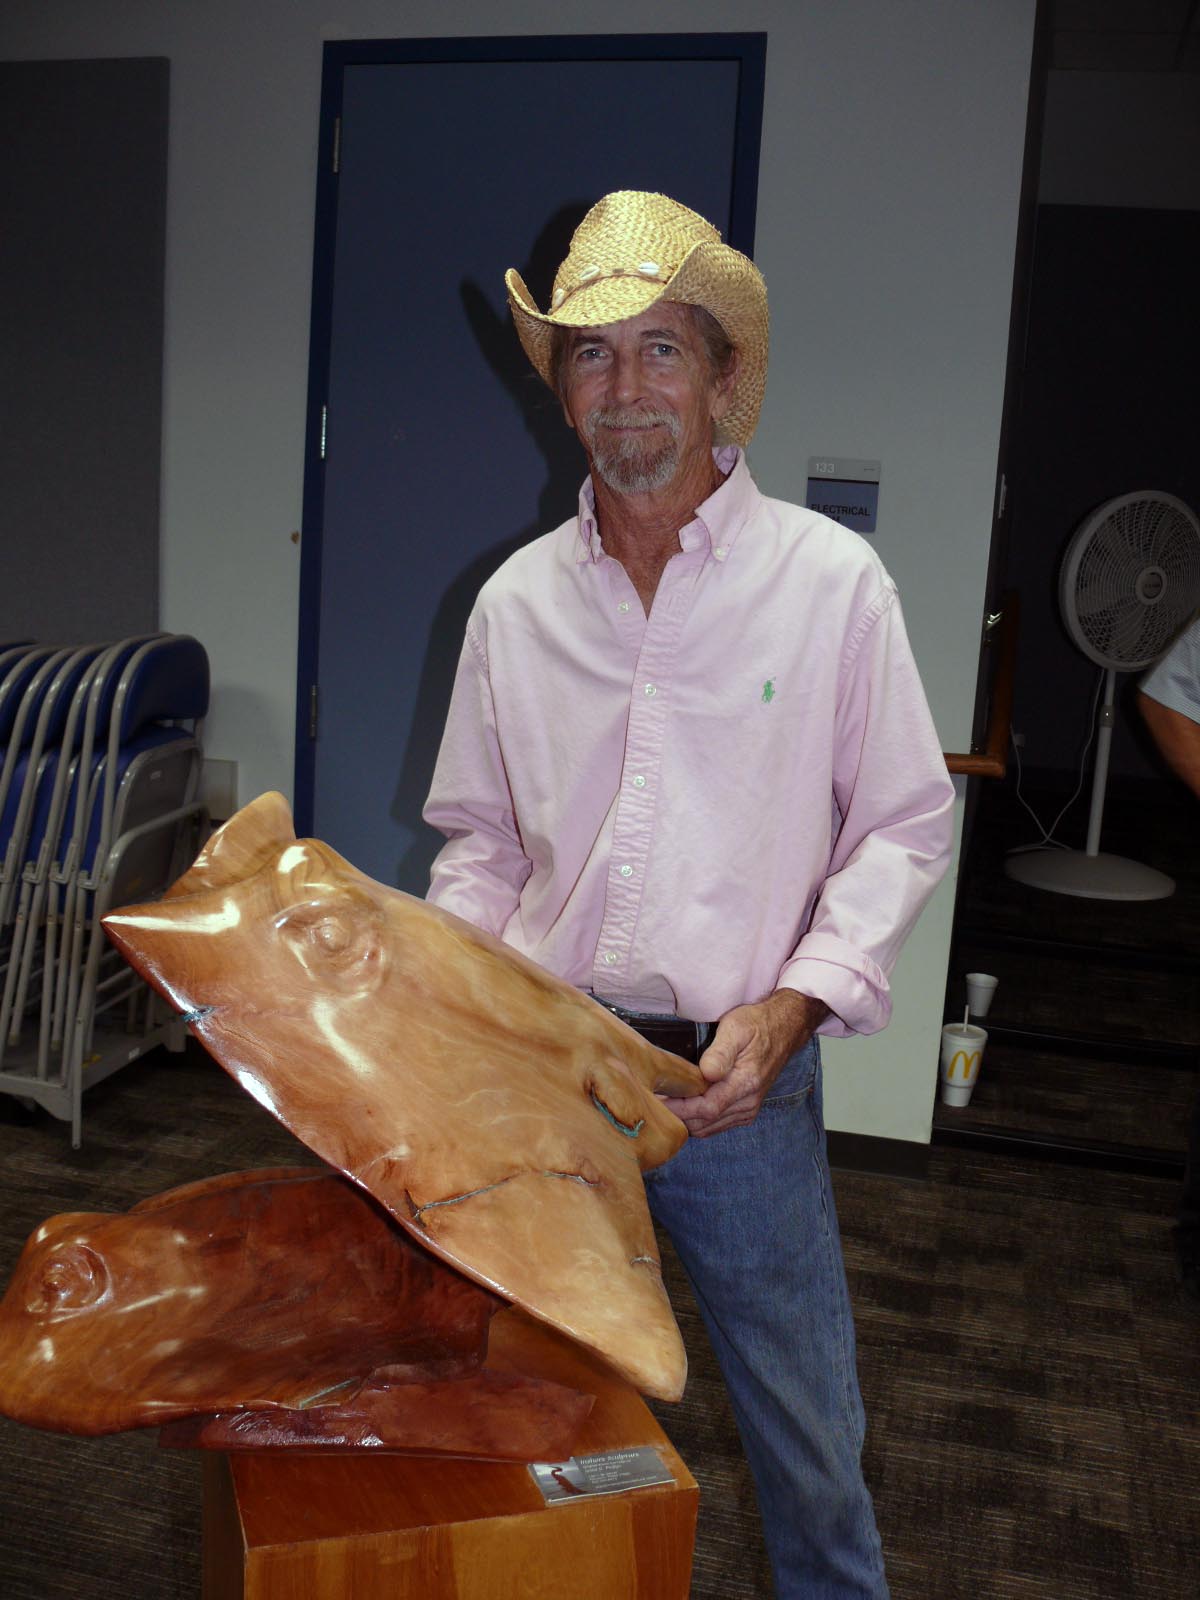
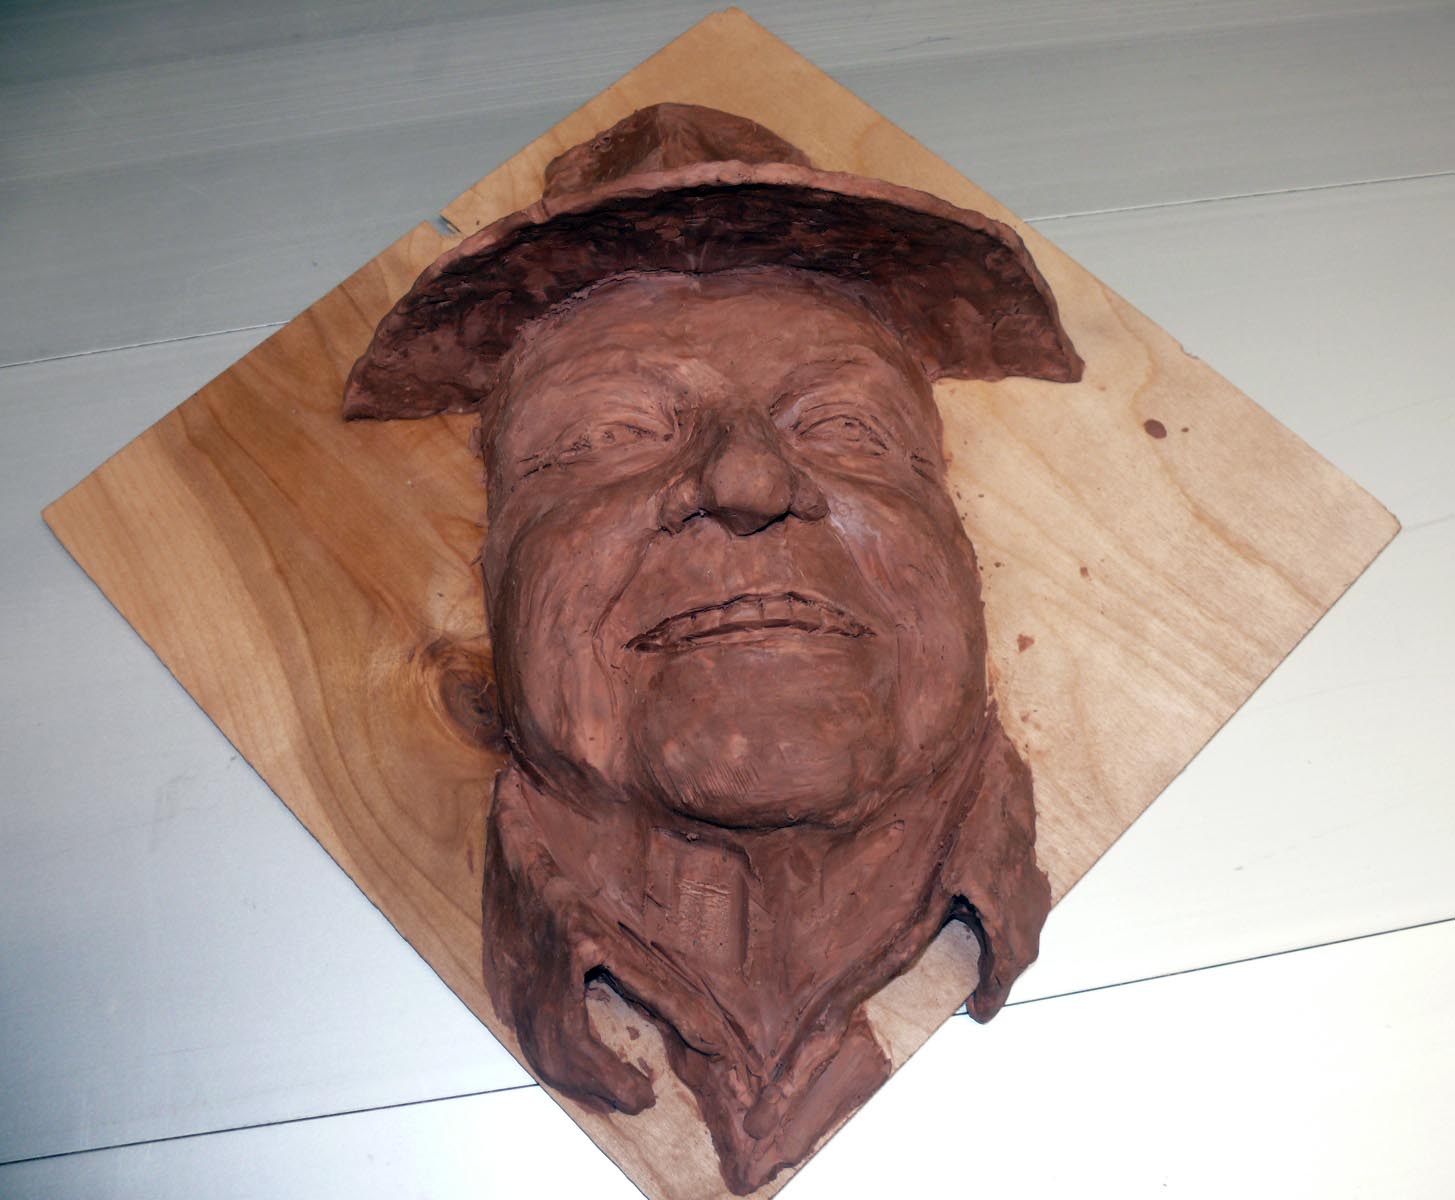
Guest Presenter: Jim Phillips of Inshore Sculpture |
|
|
|
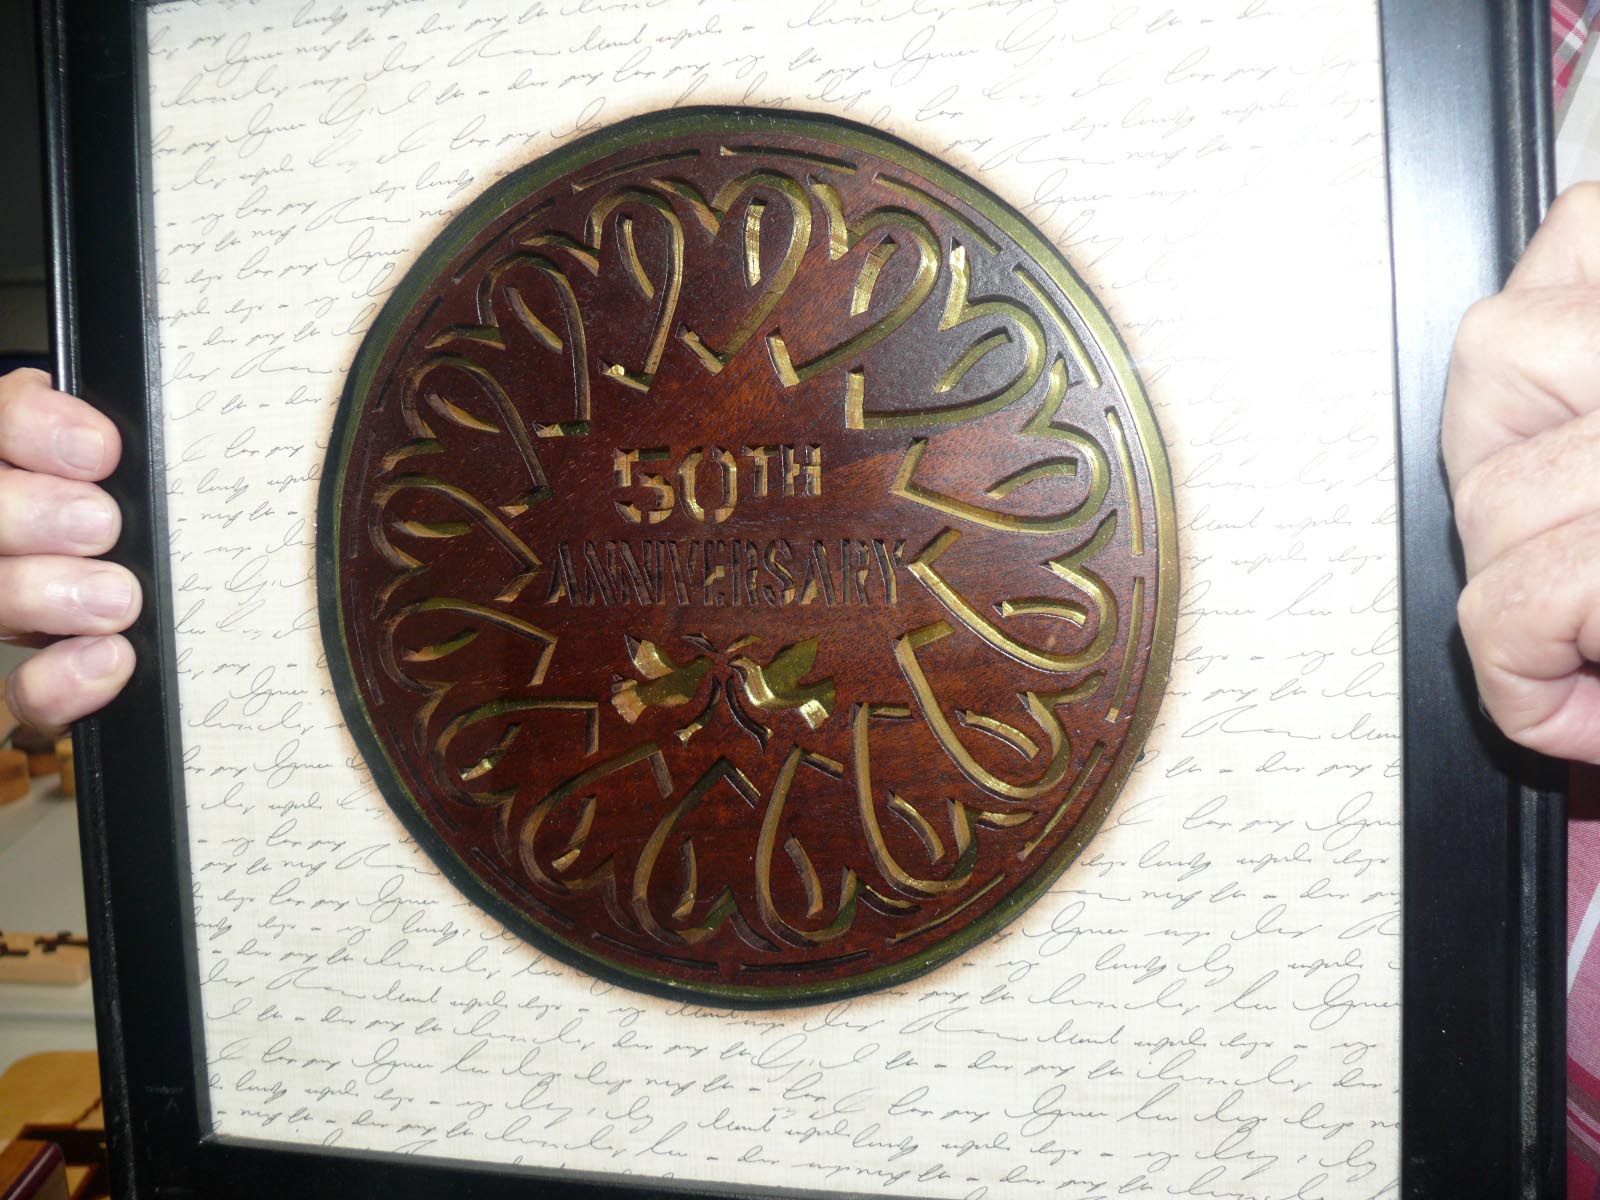
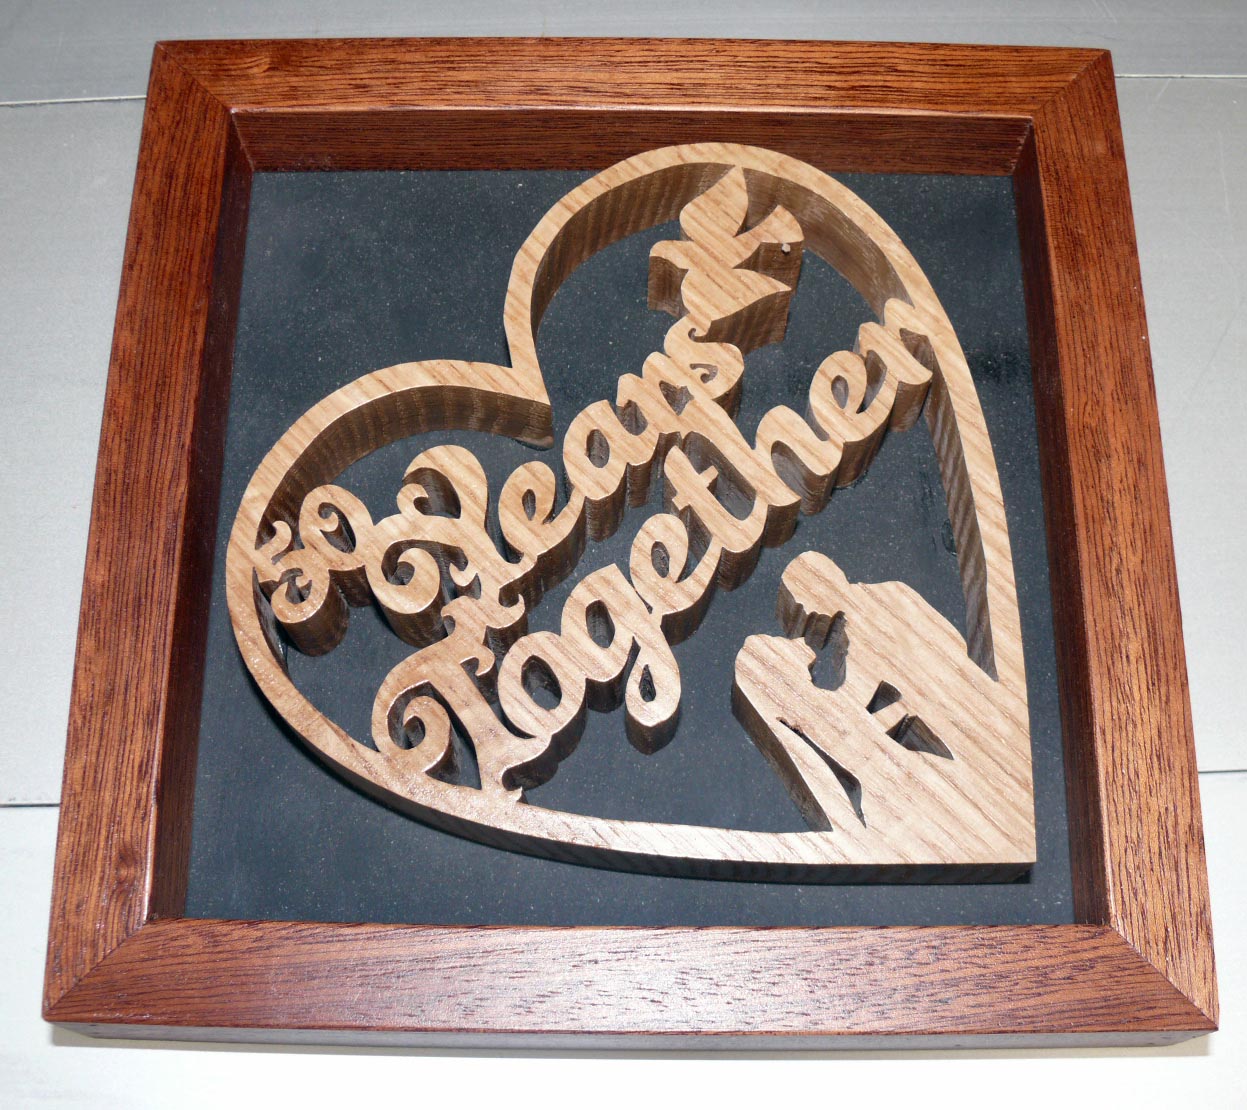
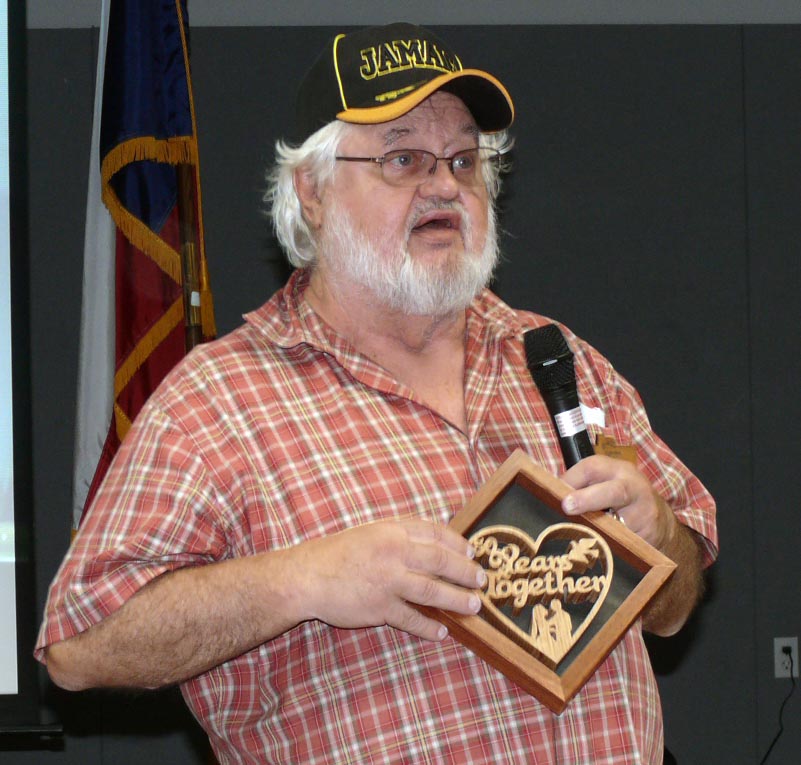
To help celebrate their 50th wedding anniversary George
Graves crafted these plaques.
George’s scrapbooking daughter helped out also. |
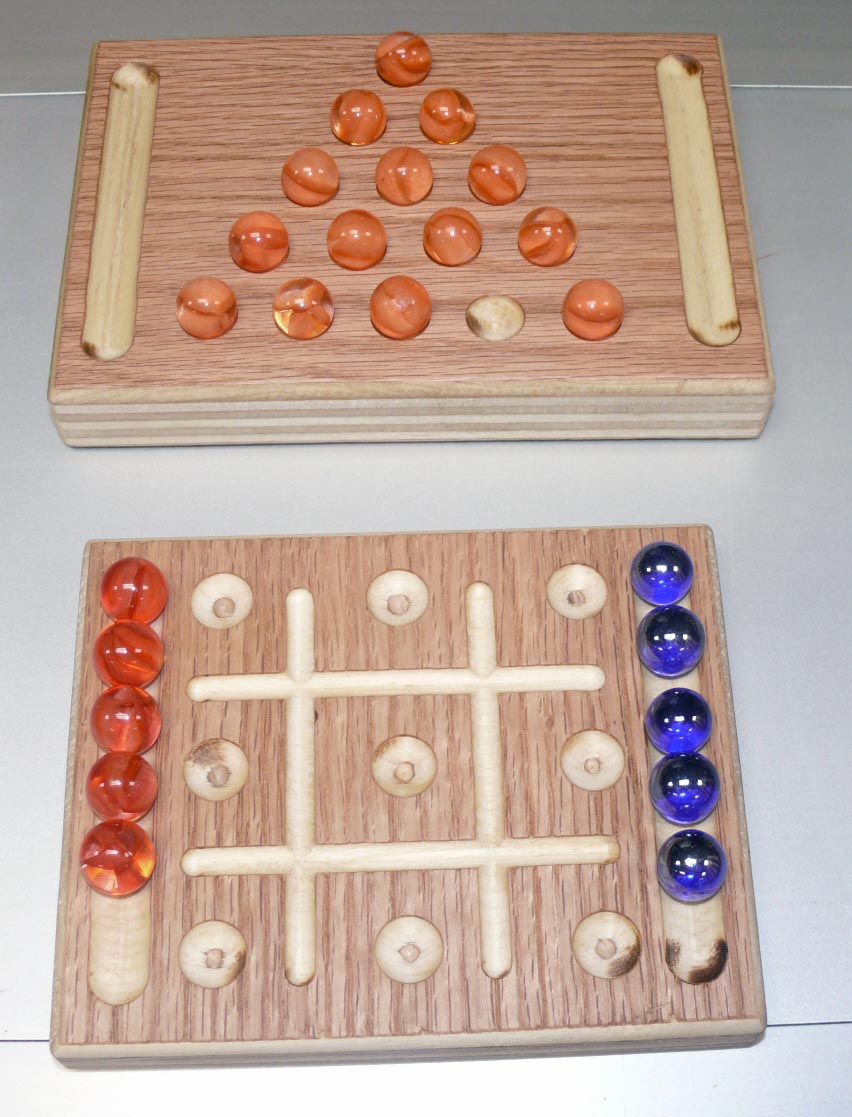

 Chuck Lickwar showed club members some simple
toys of his own design that he crafted for WWCH’s toy making program.
Chuck challenged everyone to make at least ten toys. |

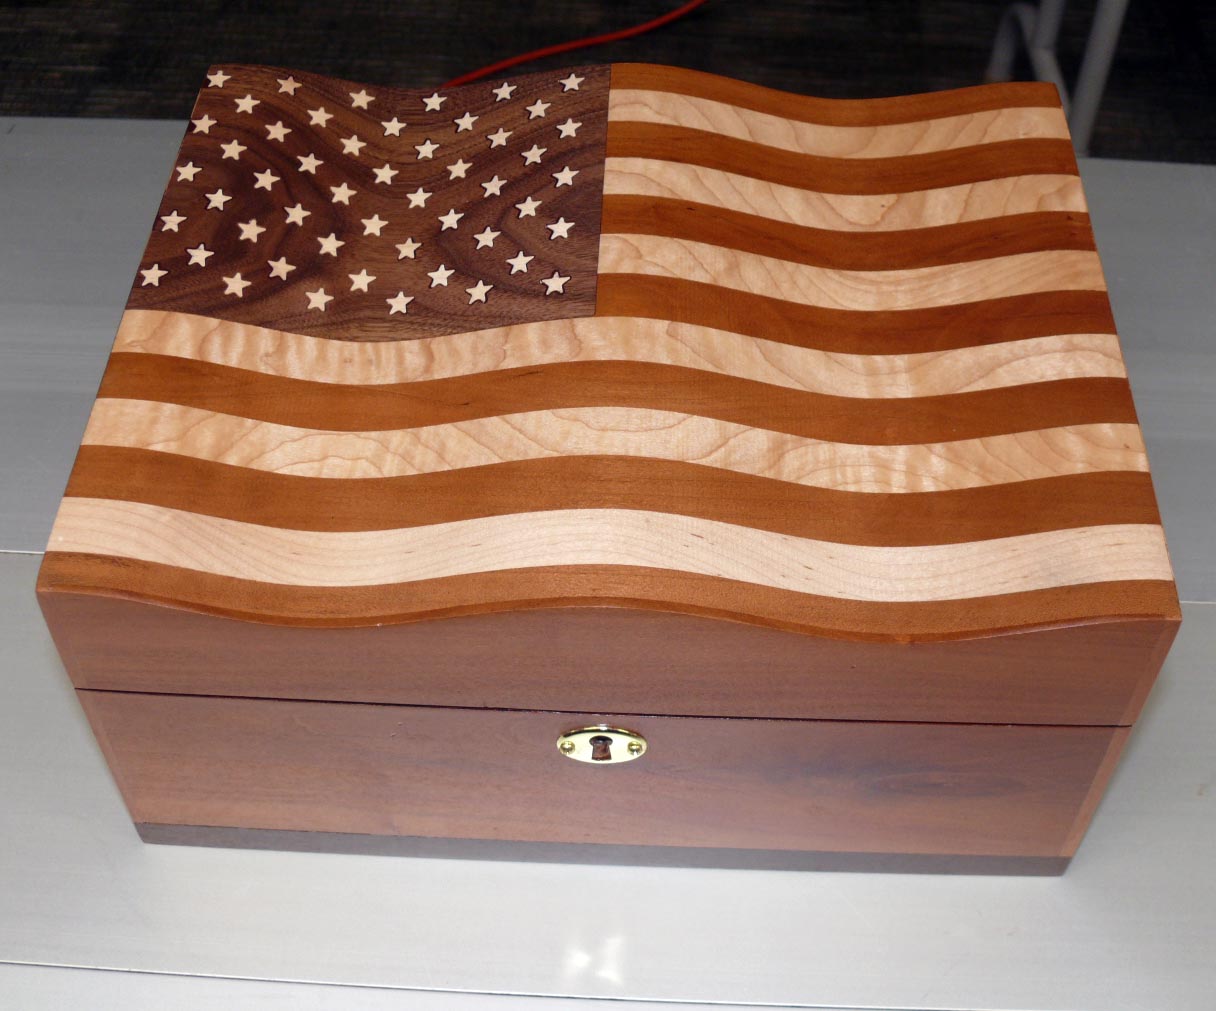
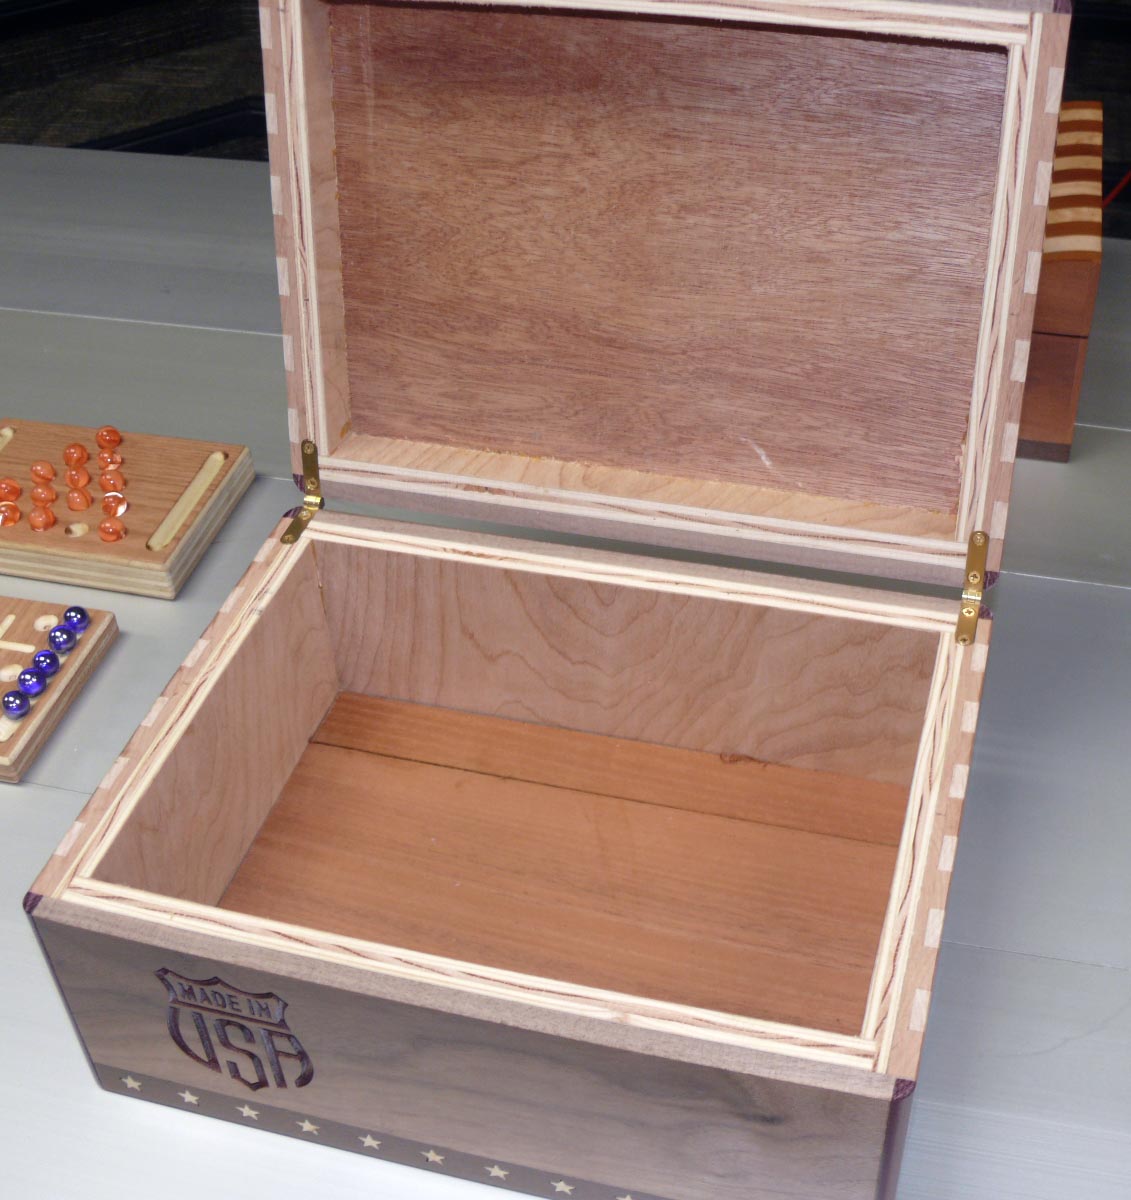
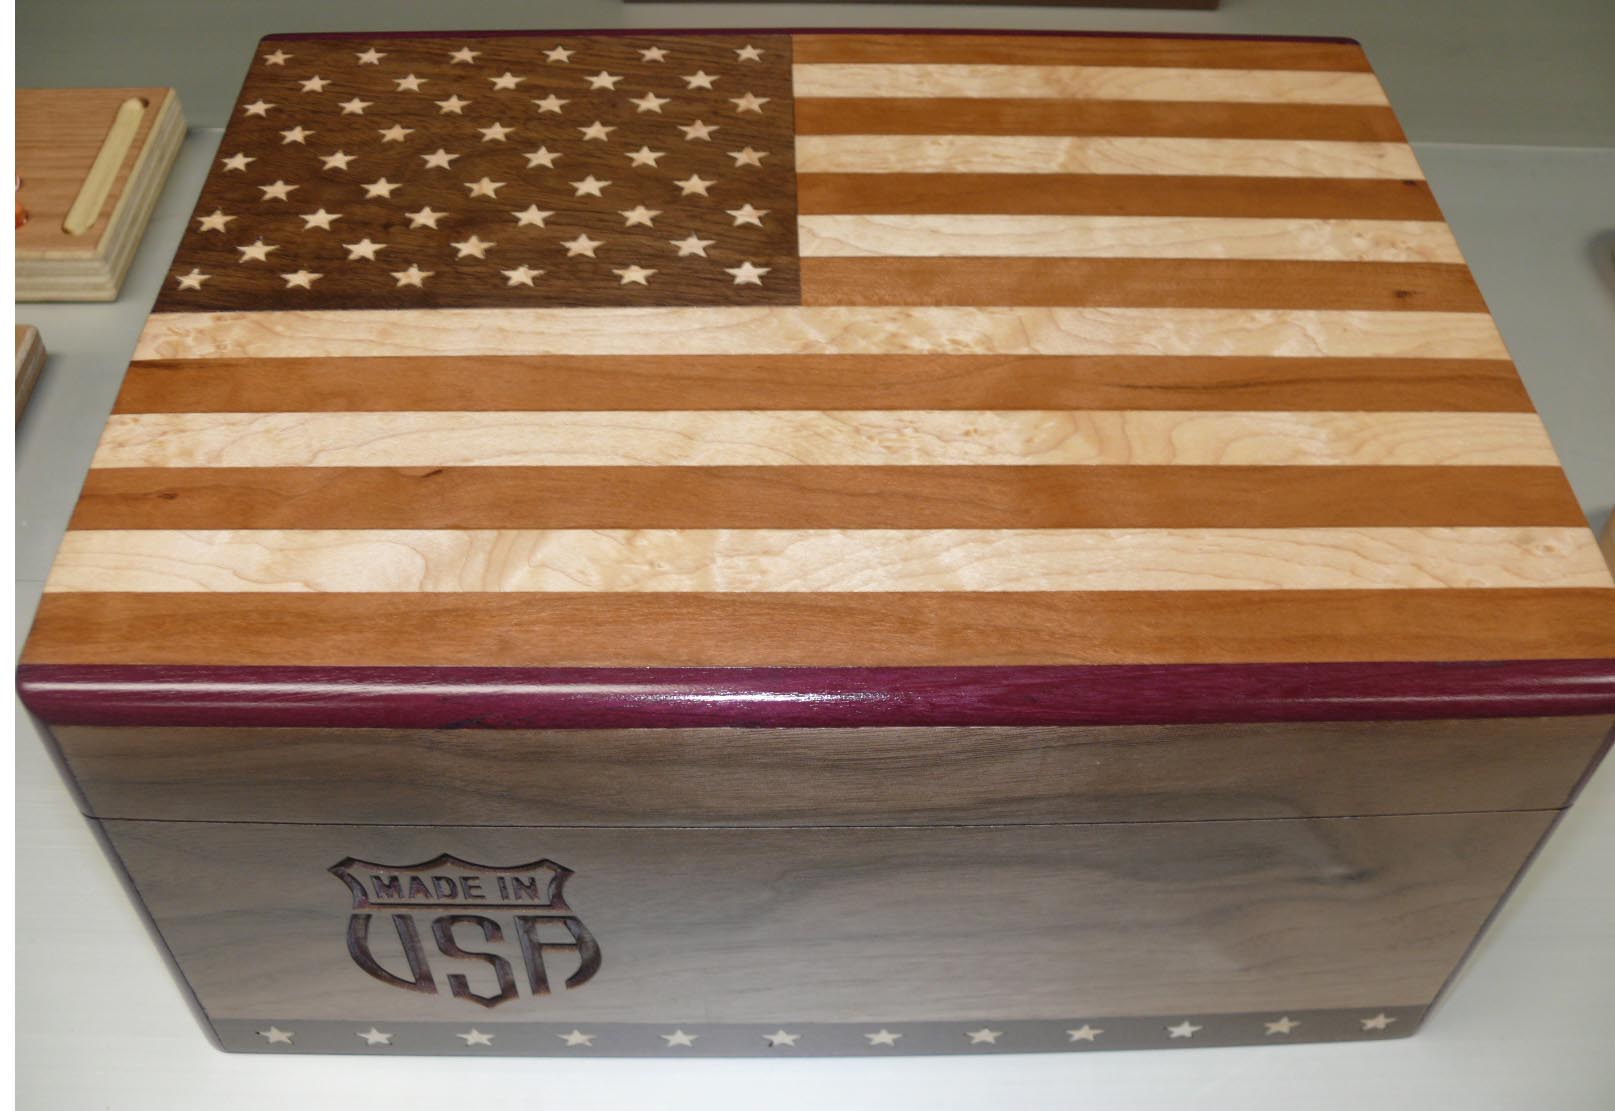
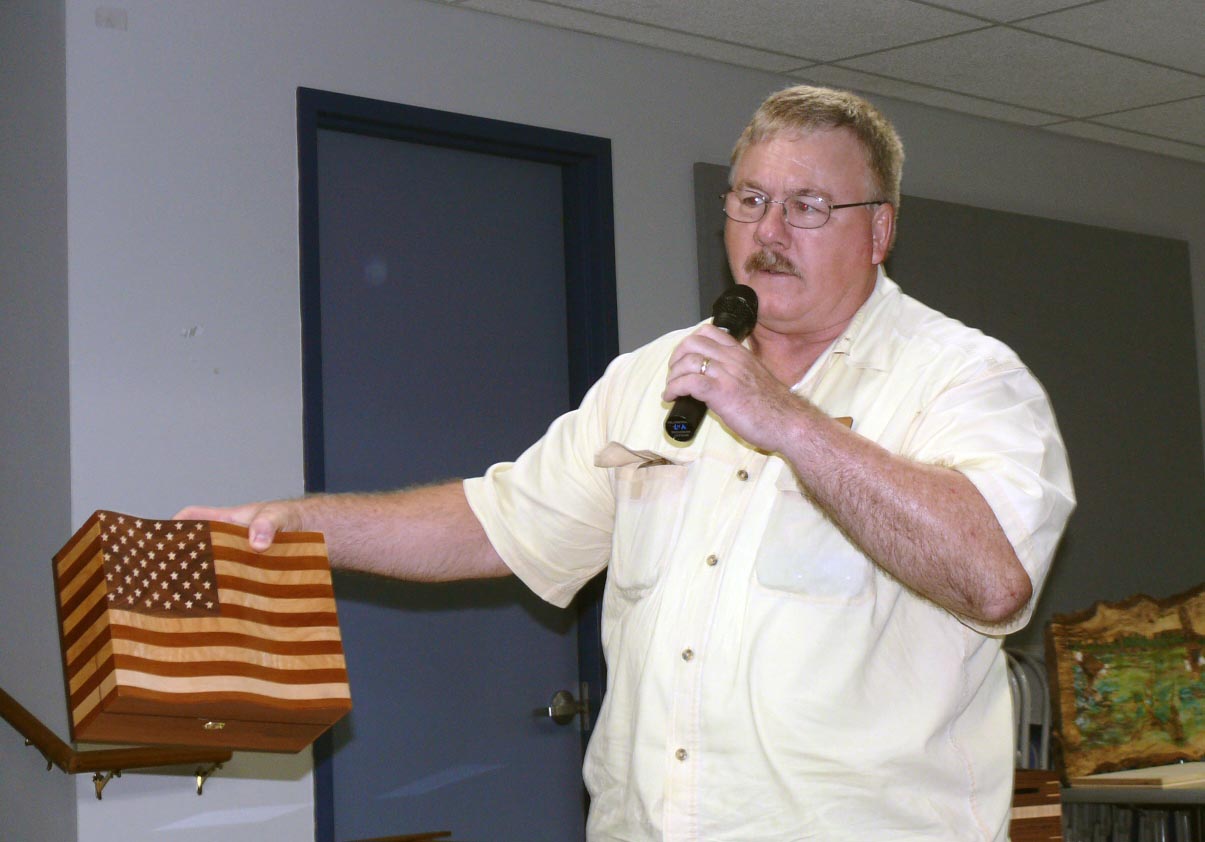
With help from a CNC machine David Glasco crafted a US flag box for his son, who is in the Service in Afghanistan and another for a buddy of his son. |
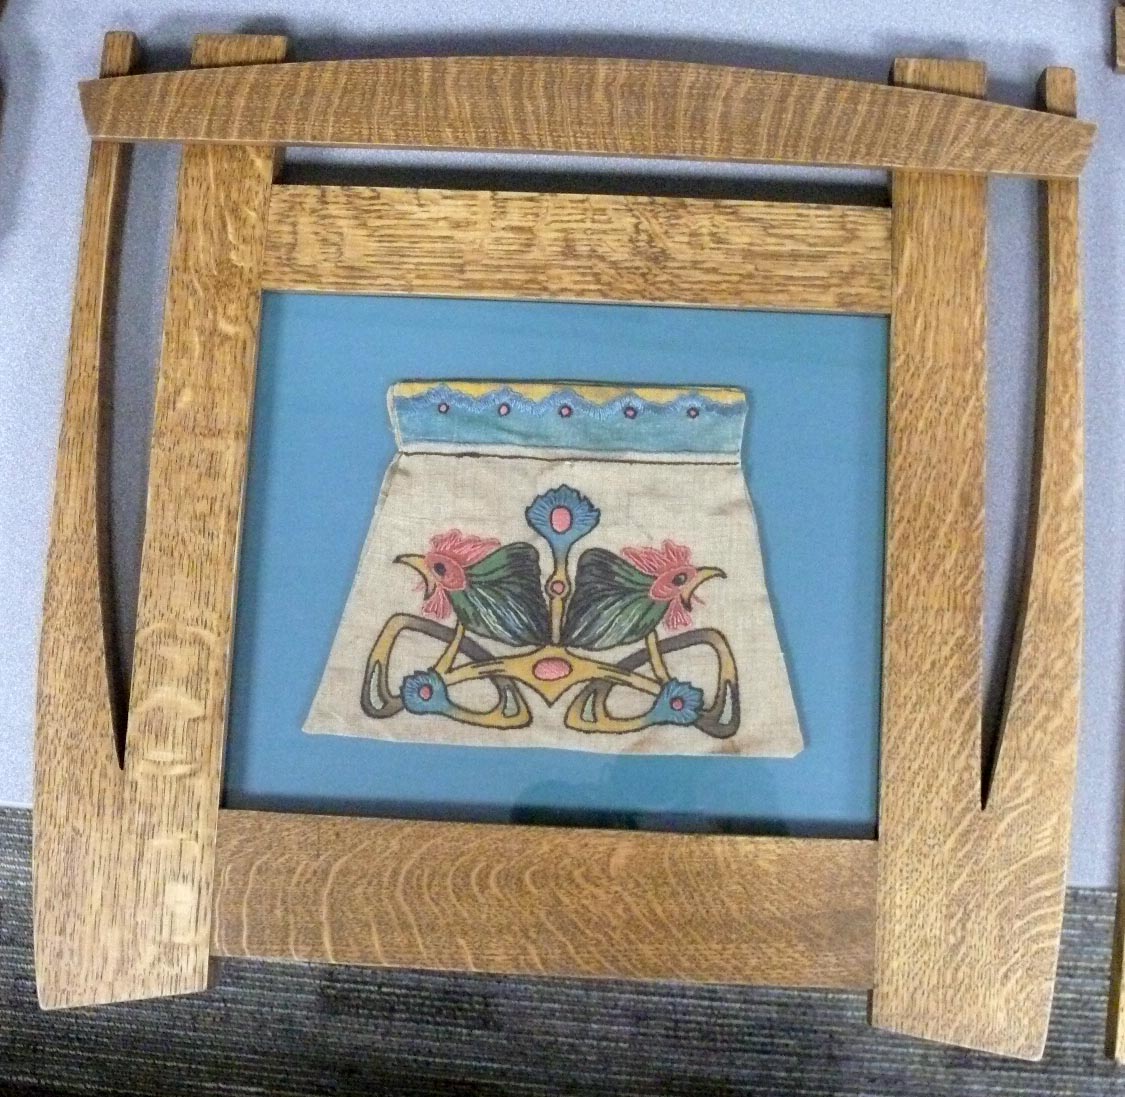

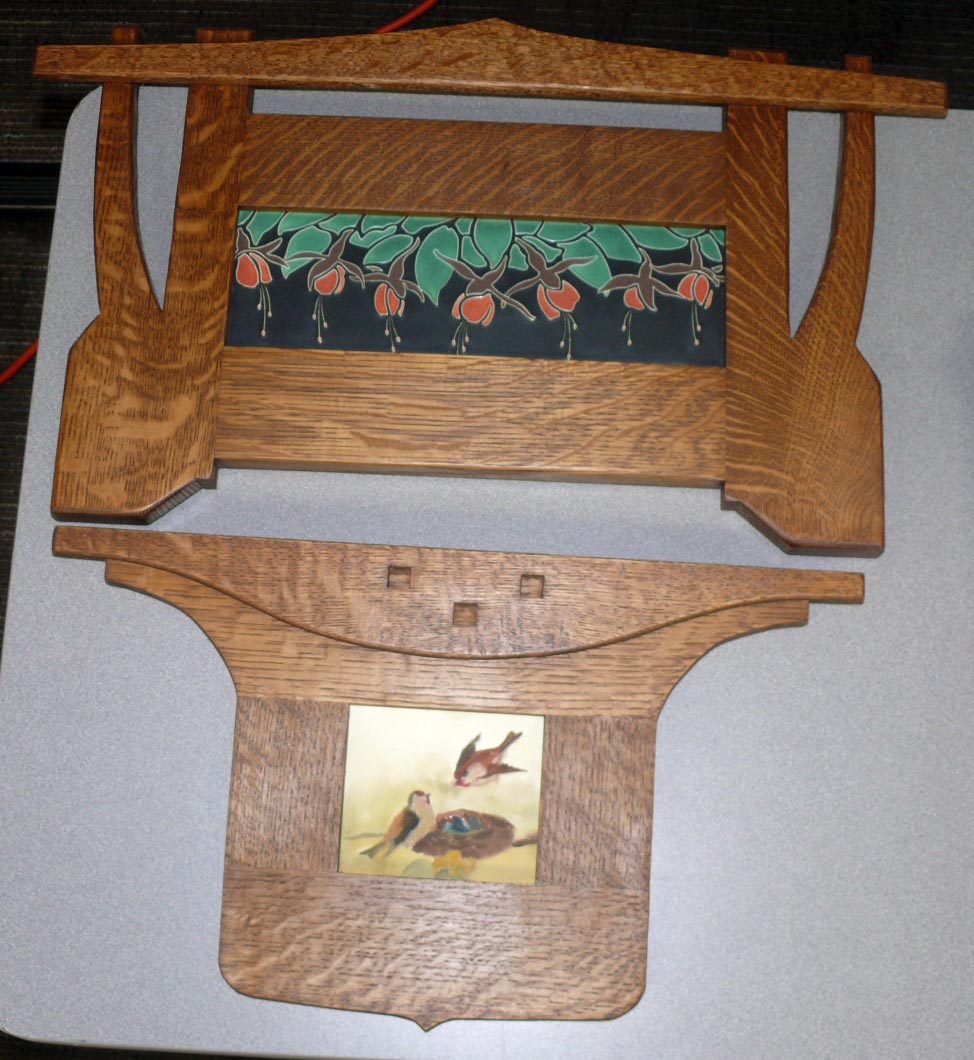
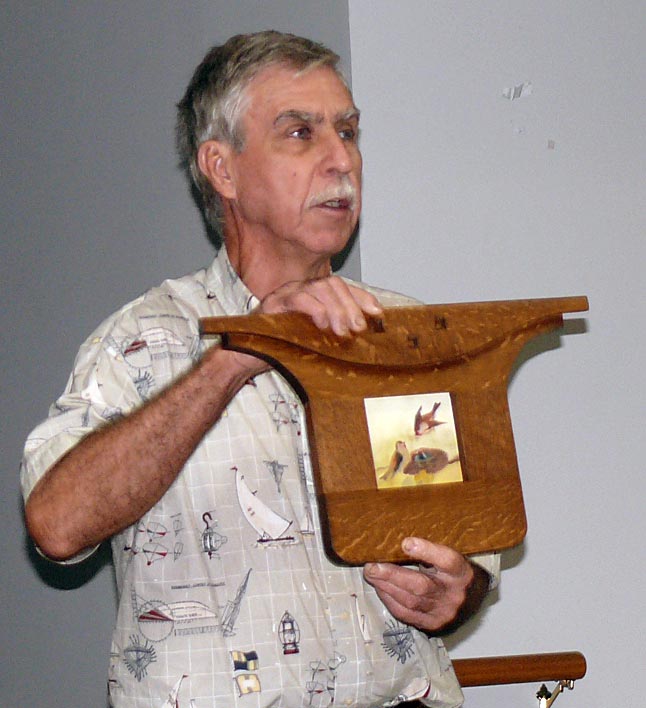 Bob Wink says he enjoys Arts and Crafts style furniture and it shows with his works framed in quartersawn white oak. Bob explained the process of using water soluble dye for traditional A&C furniture. |
||
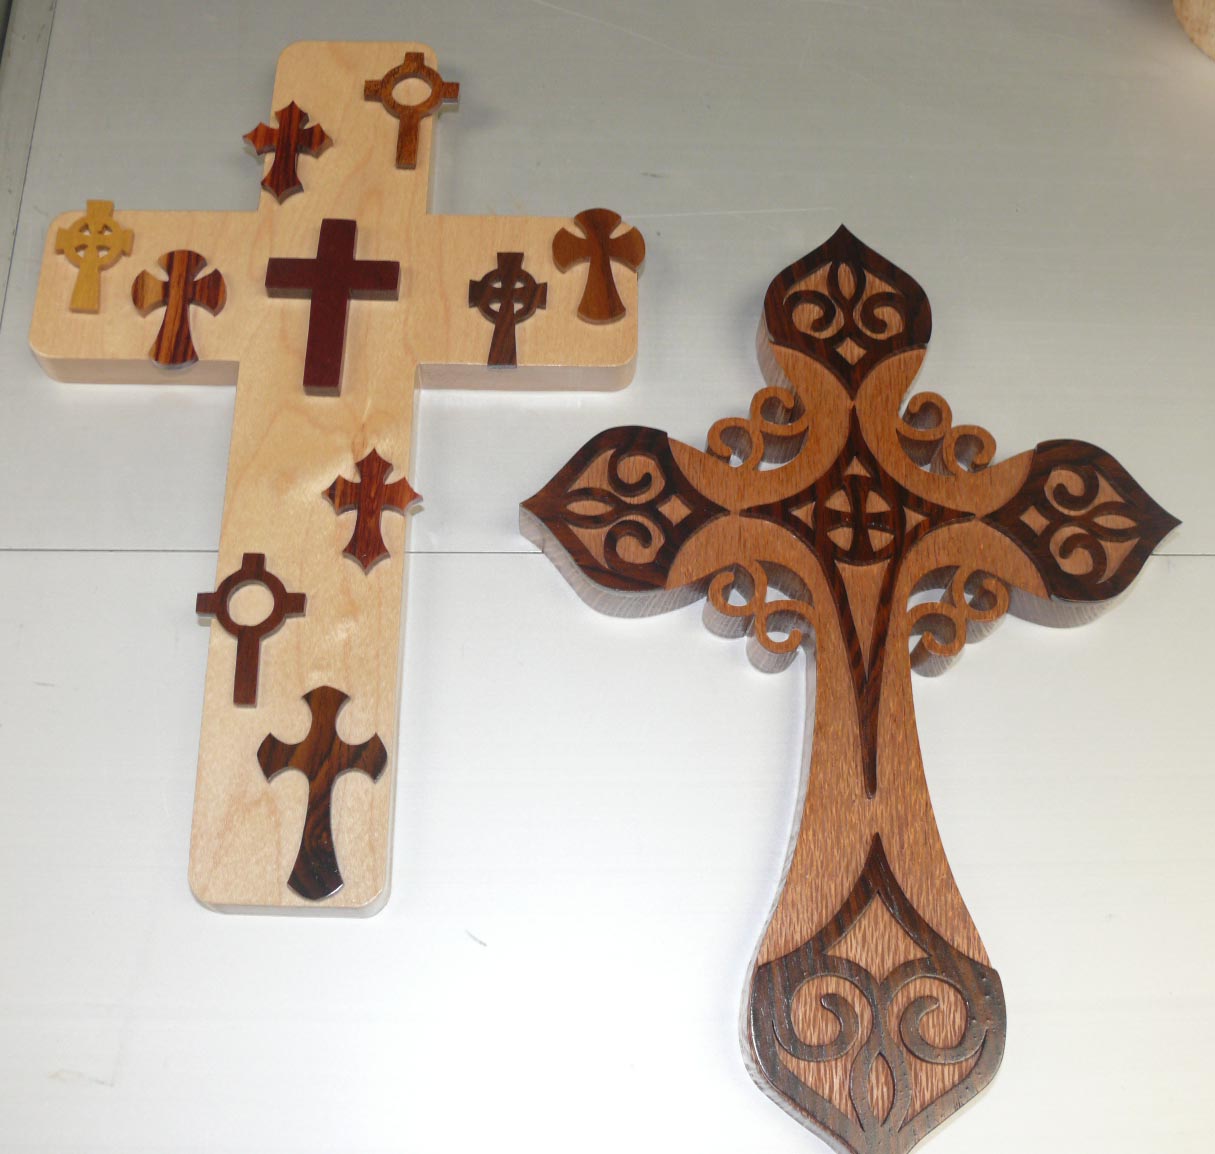
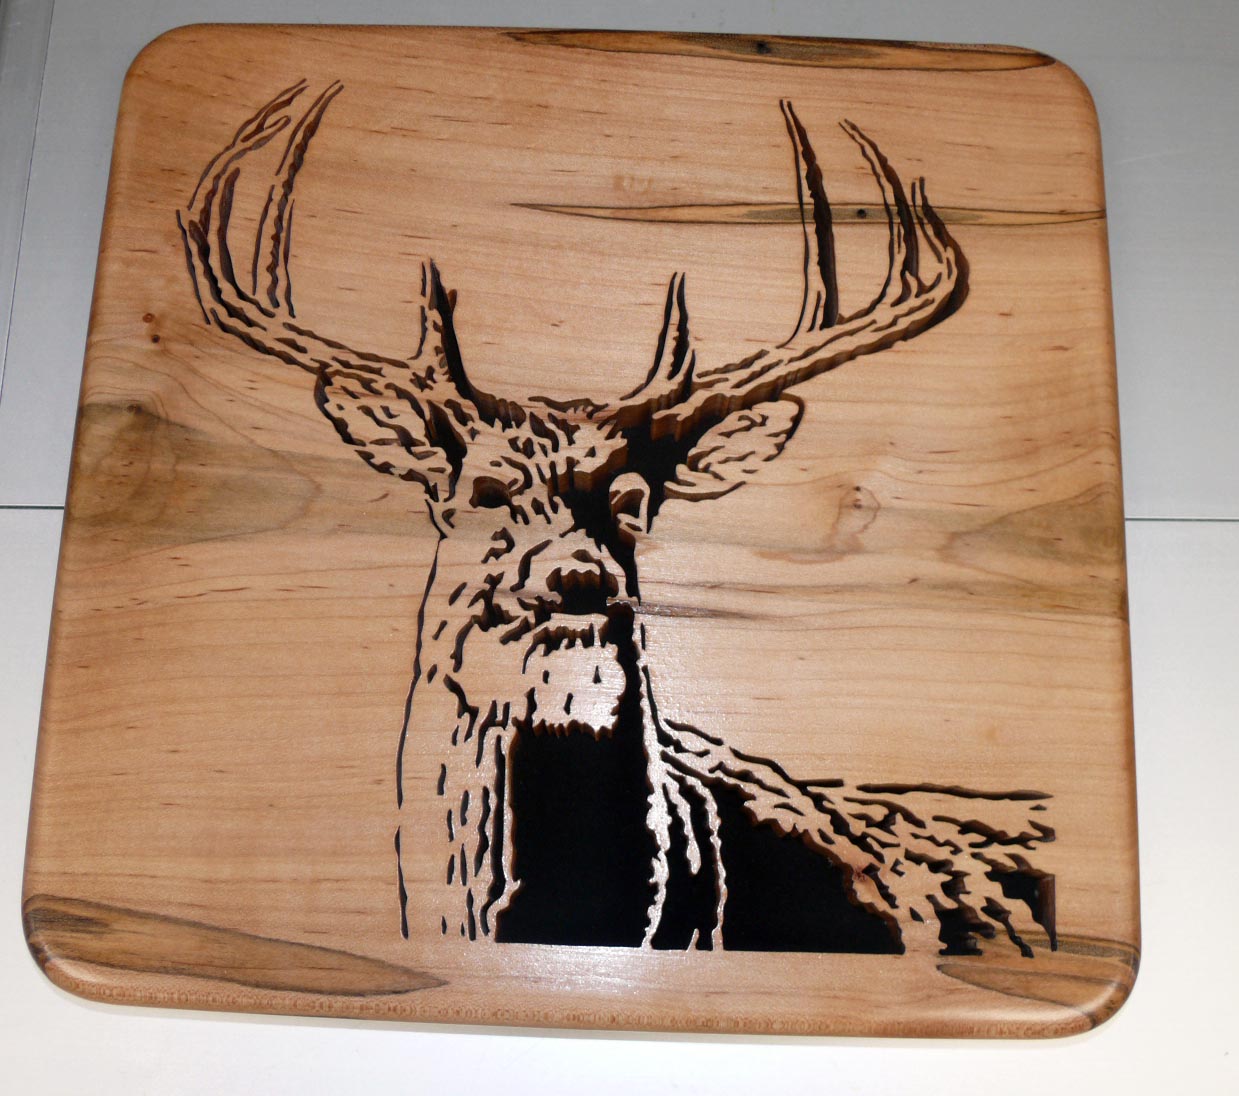
 For a show in the Woodlands, TX, next week,
Norm Nichols showed off several small crosses affixed to maple and a
hunter’s plaque of ambrosia maple, a
Sue Mey design.
Norm finished in polyurethane. |
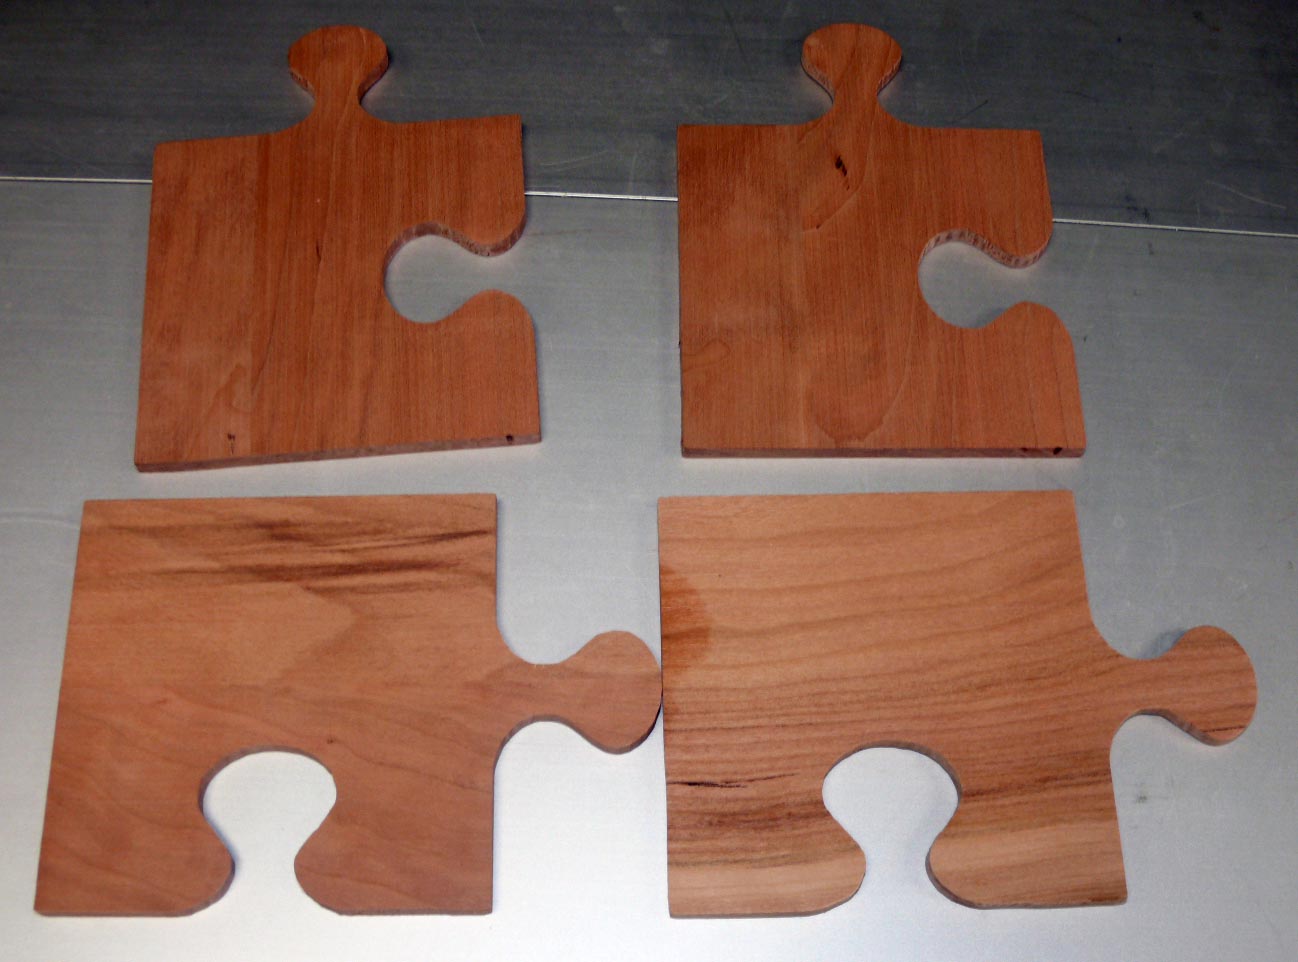

 Lynn Cummings showed club members several
little boxes and puzzle coasters of different woods made on his CNC
machine. Answering questions
about CNC, Lynn explained that his router motor is liquid cooled to
handle the load better. |
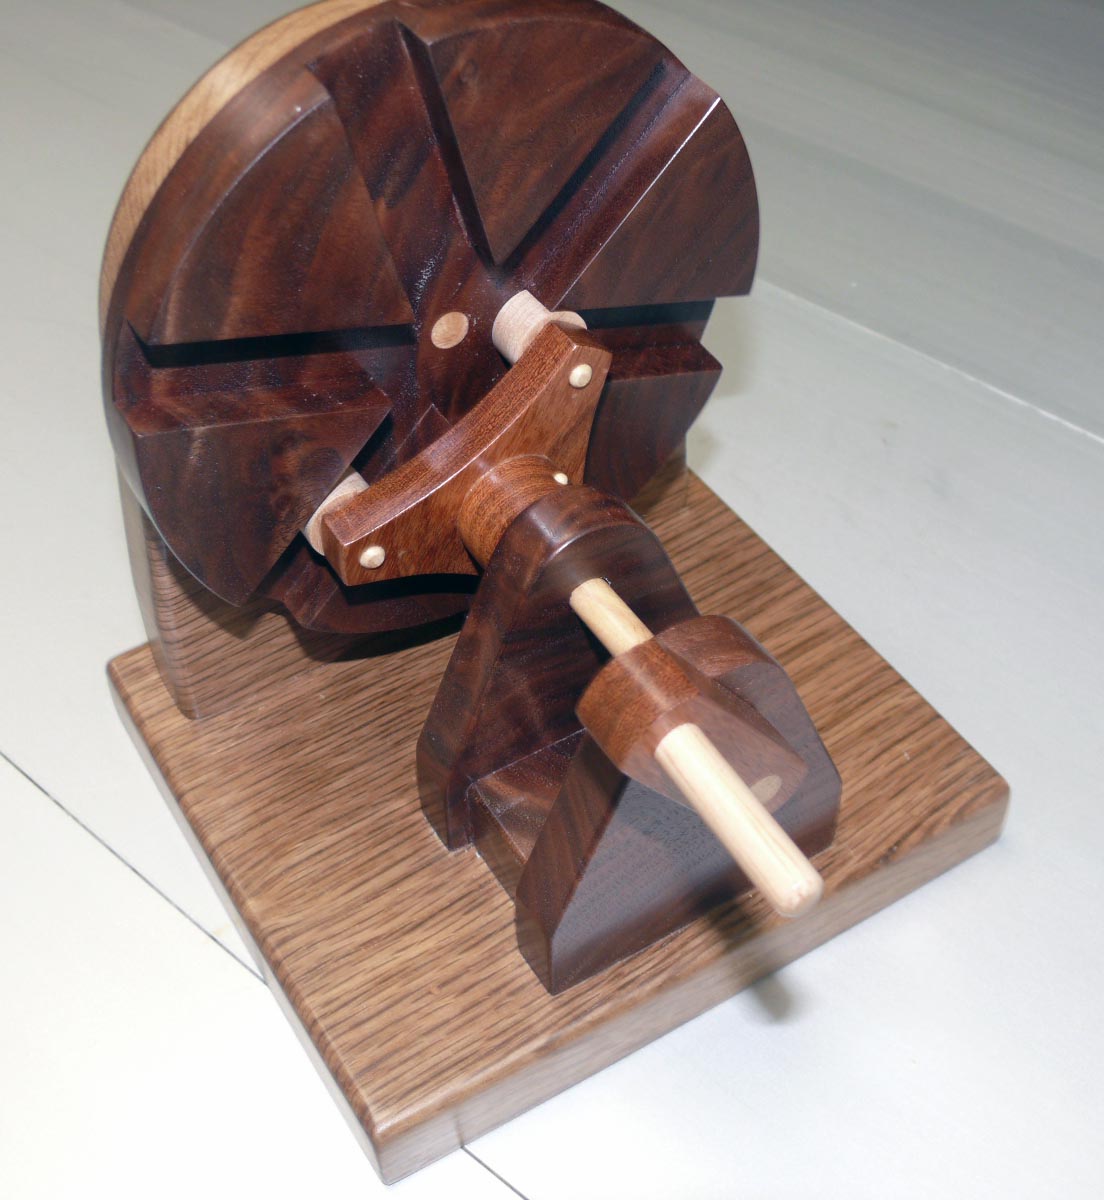
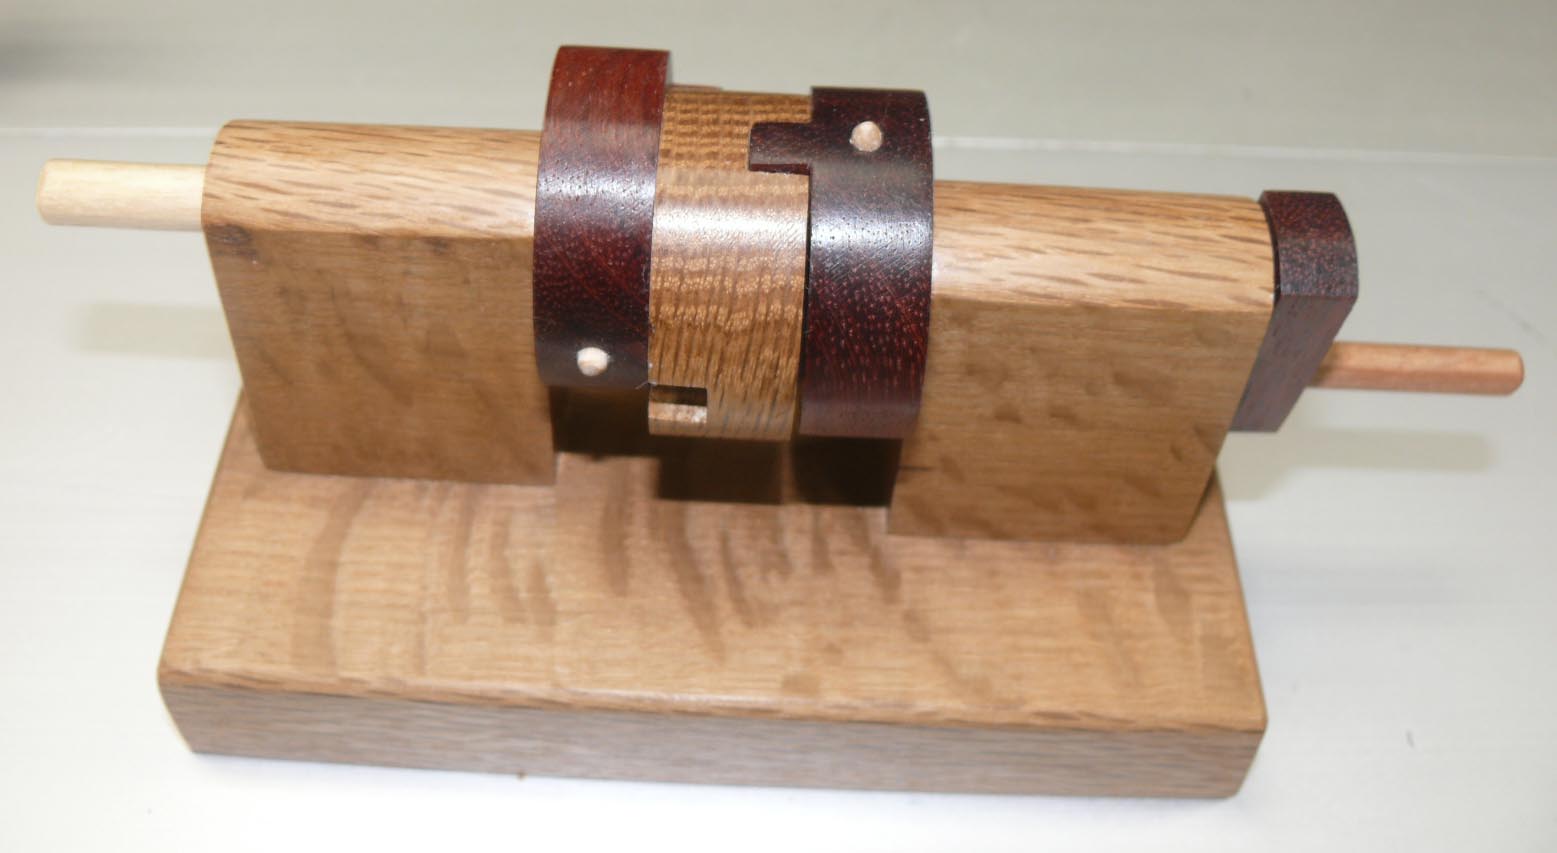
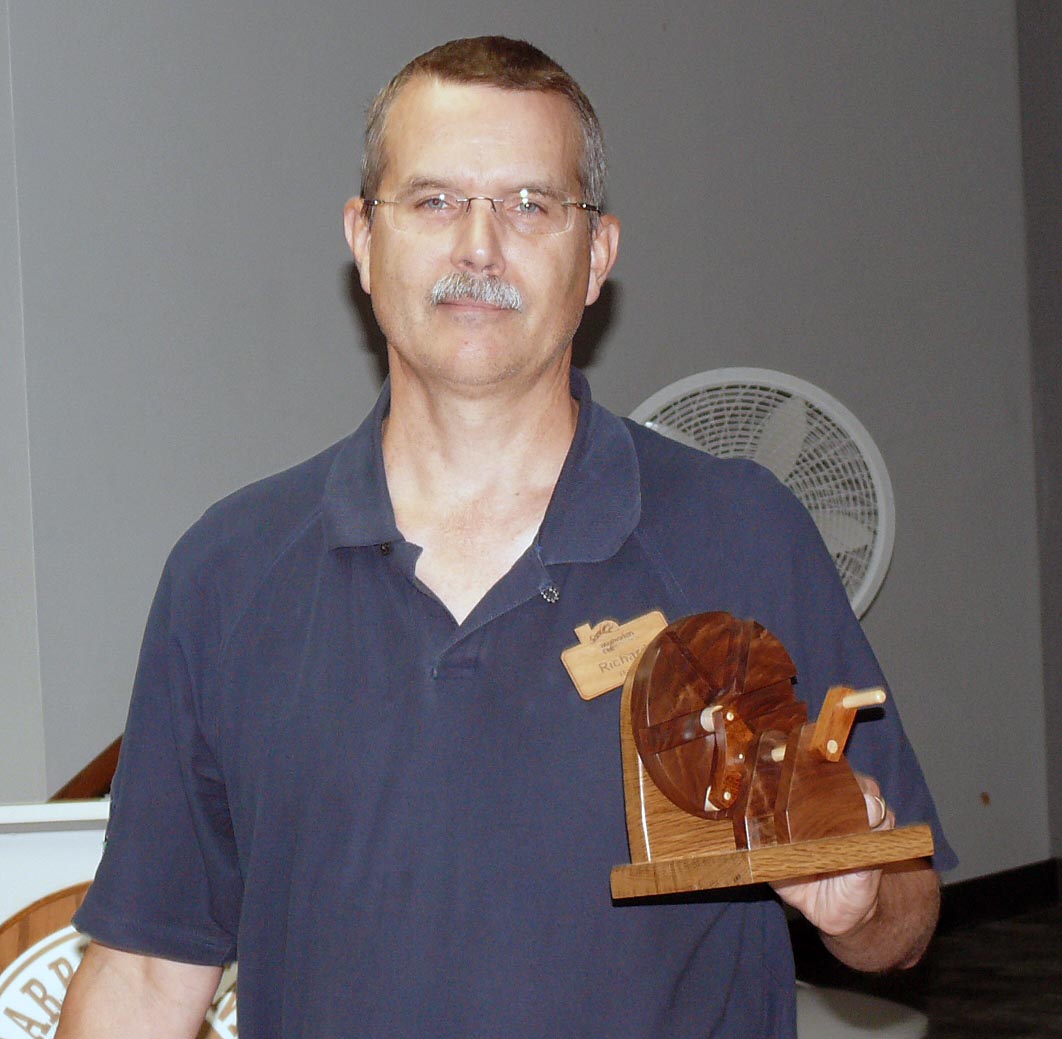
Richard Hash demonstrated three of his wooden
mechanical marvels of white oak, maple and mesquite and explained how
they are used in the “real” world.
Check out the geometrics for the
Tusi couple mechanism. |

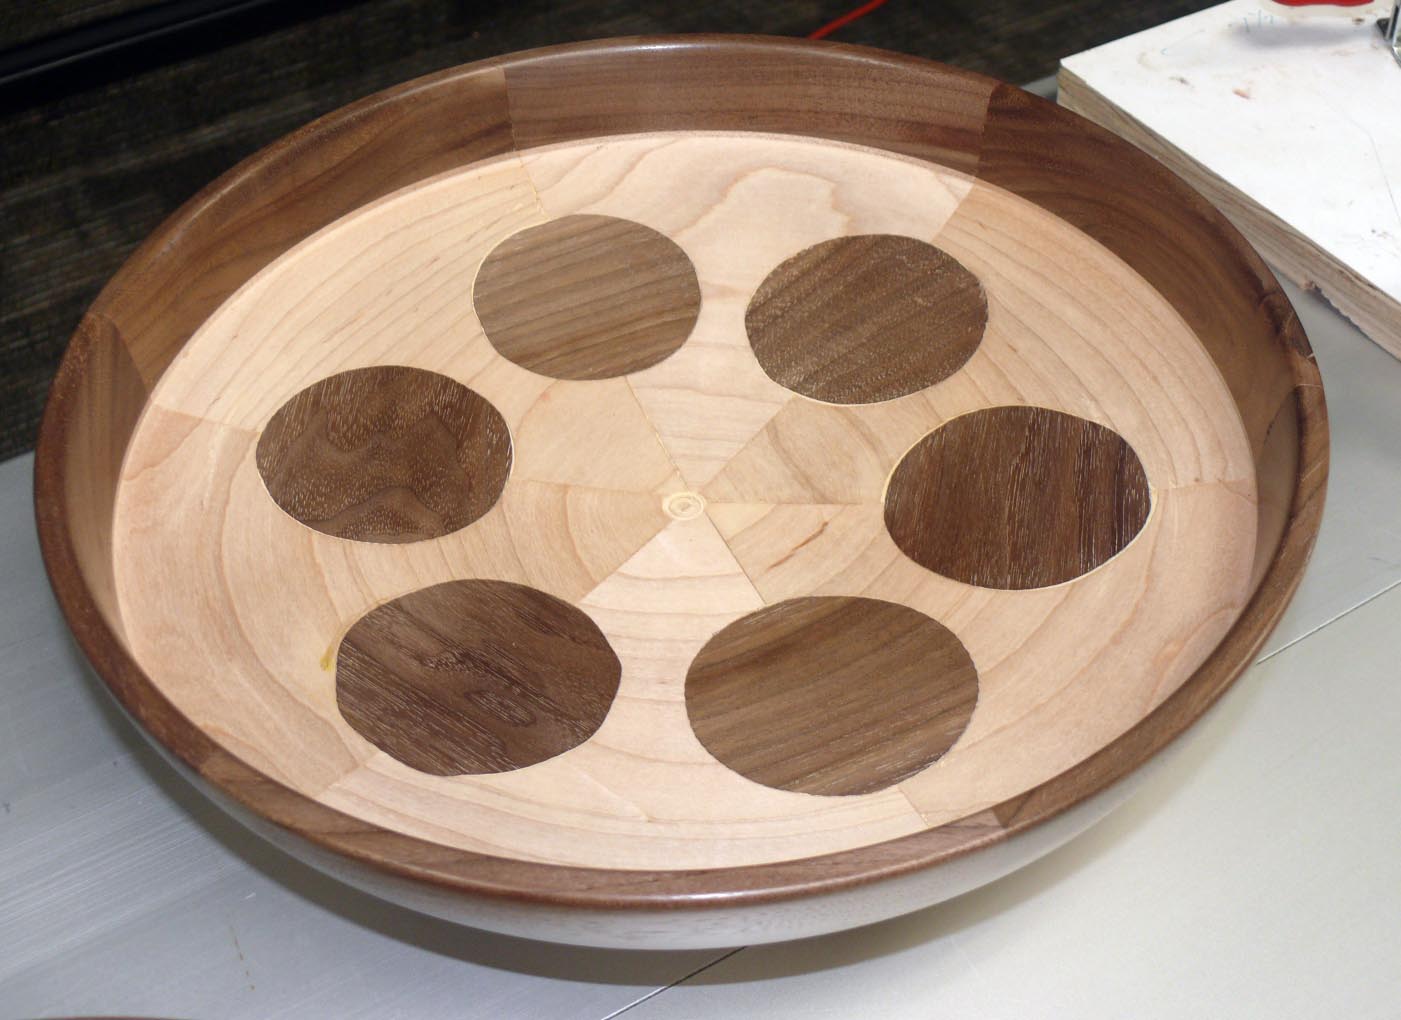
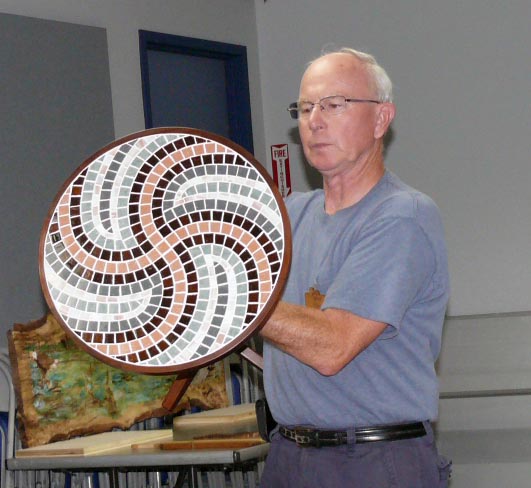
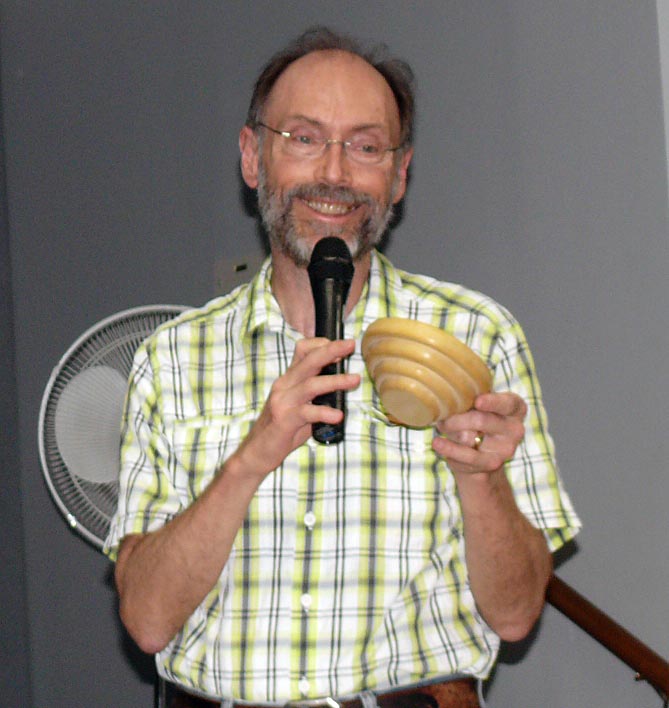
Lon Kelley, drawing inspiration from Japanese
craftsmen, explained how he had to tilt his bandsaw just right to set
these bowls of walnut and maple to come out just right on the lathe. Lon
is quite the 職人,Shokunin,
isn’t he? |
||
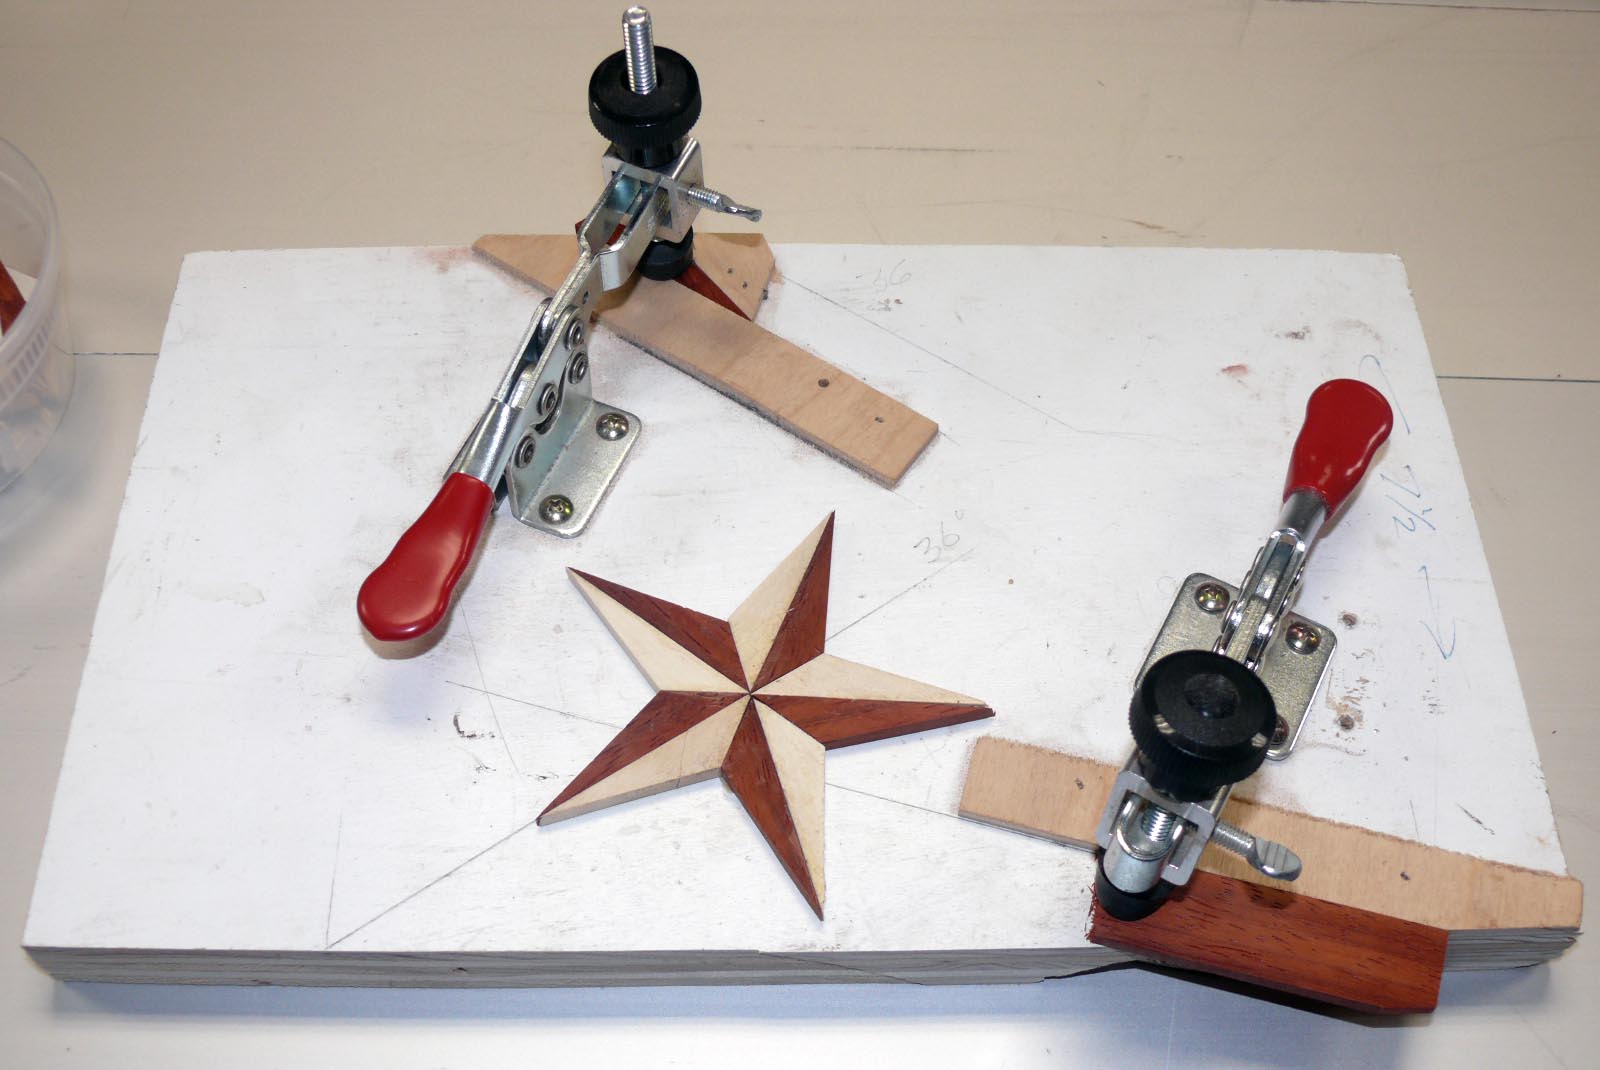
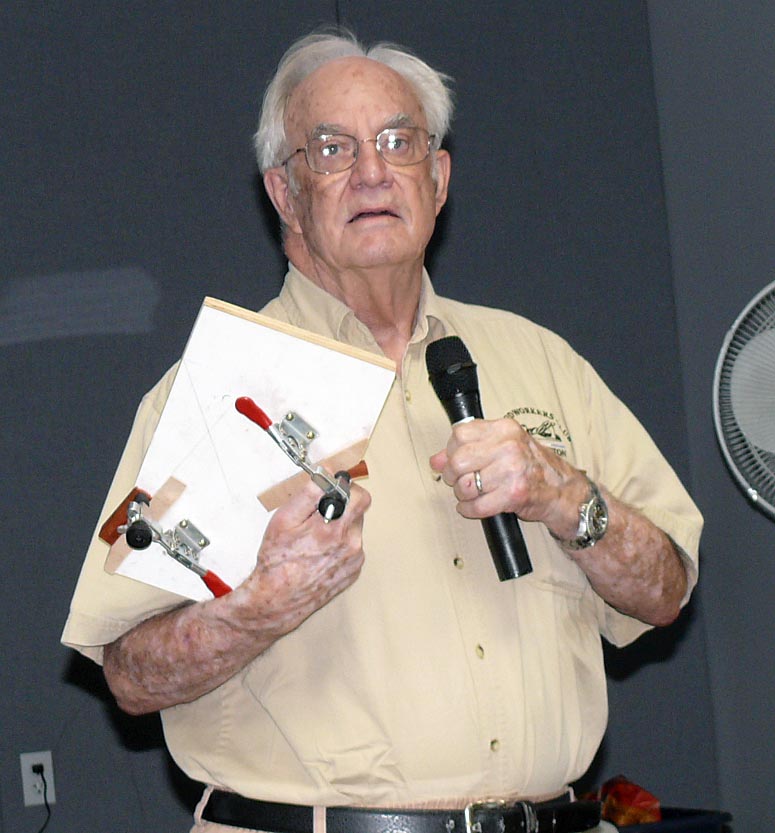
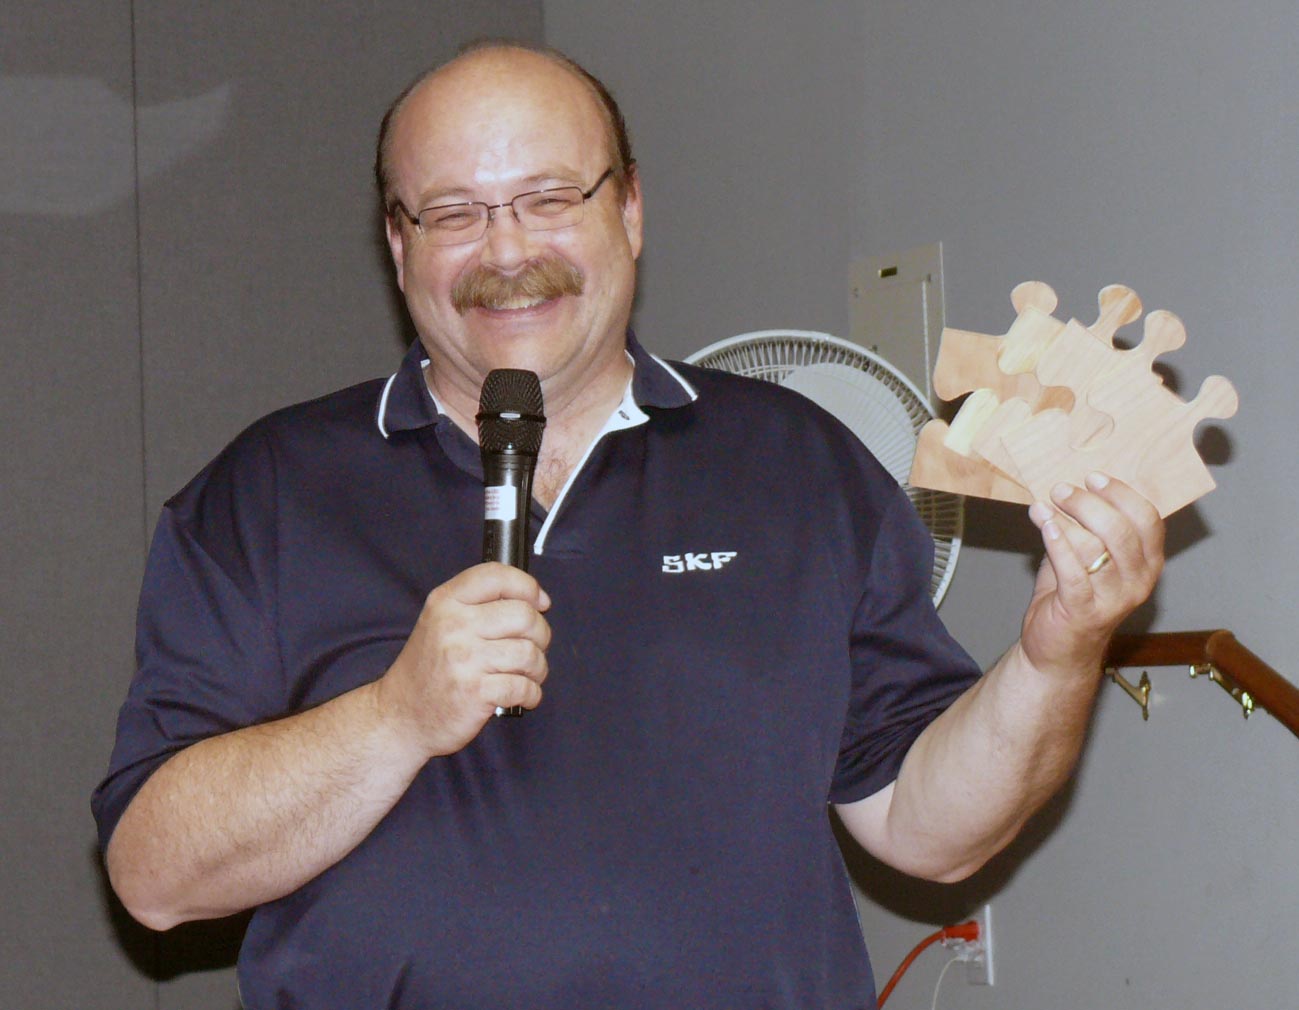
Hugh Parker - Jig for Making Stars |
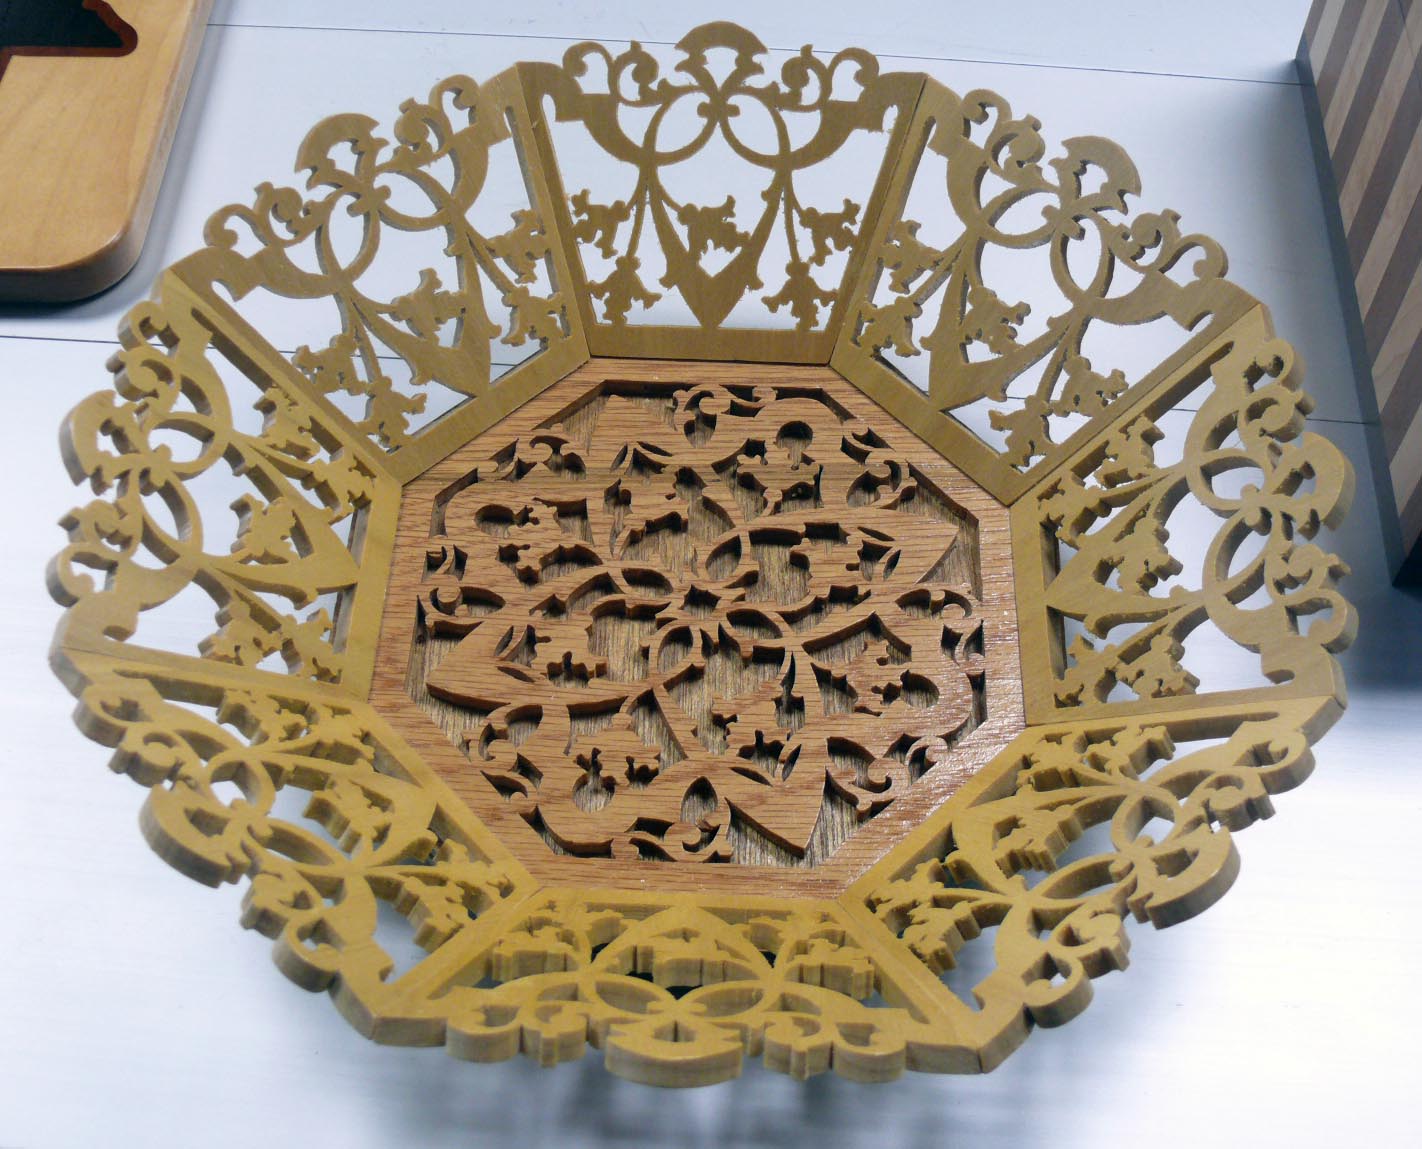
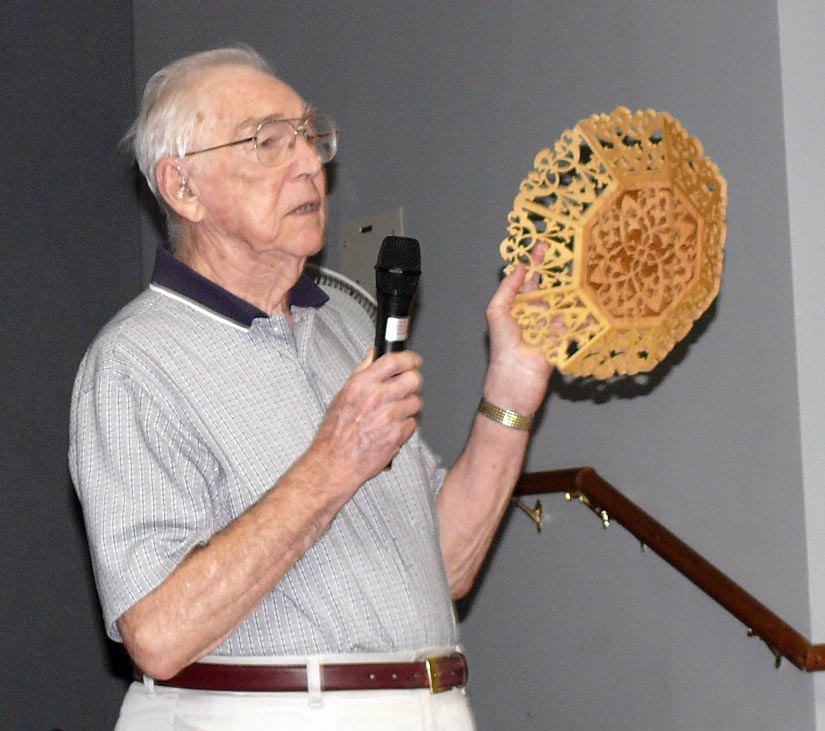
From an old
Wildwood pattern Lee Knekow
scroll sawed this bowl of Baltic Birch and Philippine Mahogany.
Lee explained how he made everything come together just right. |
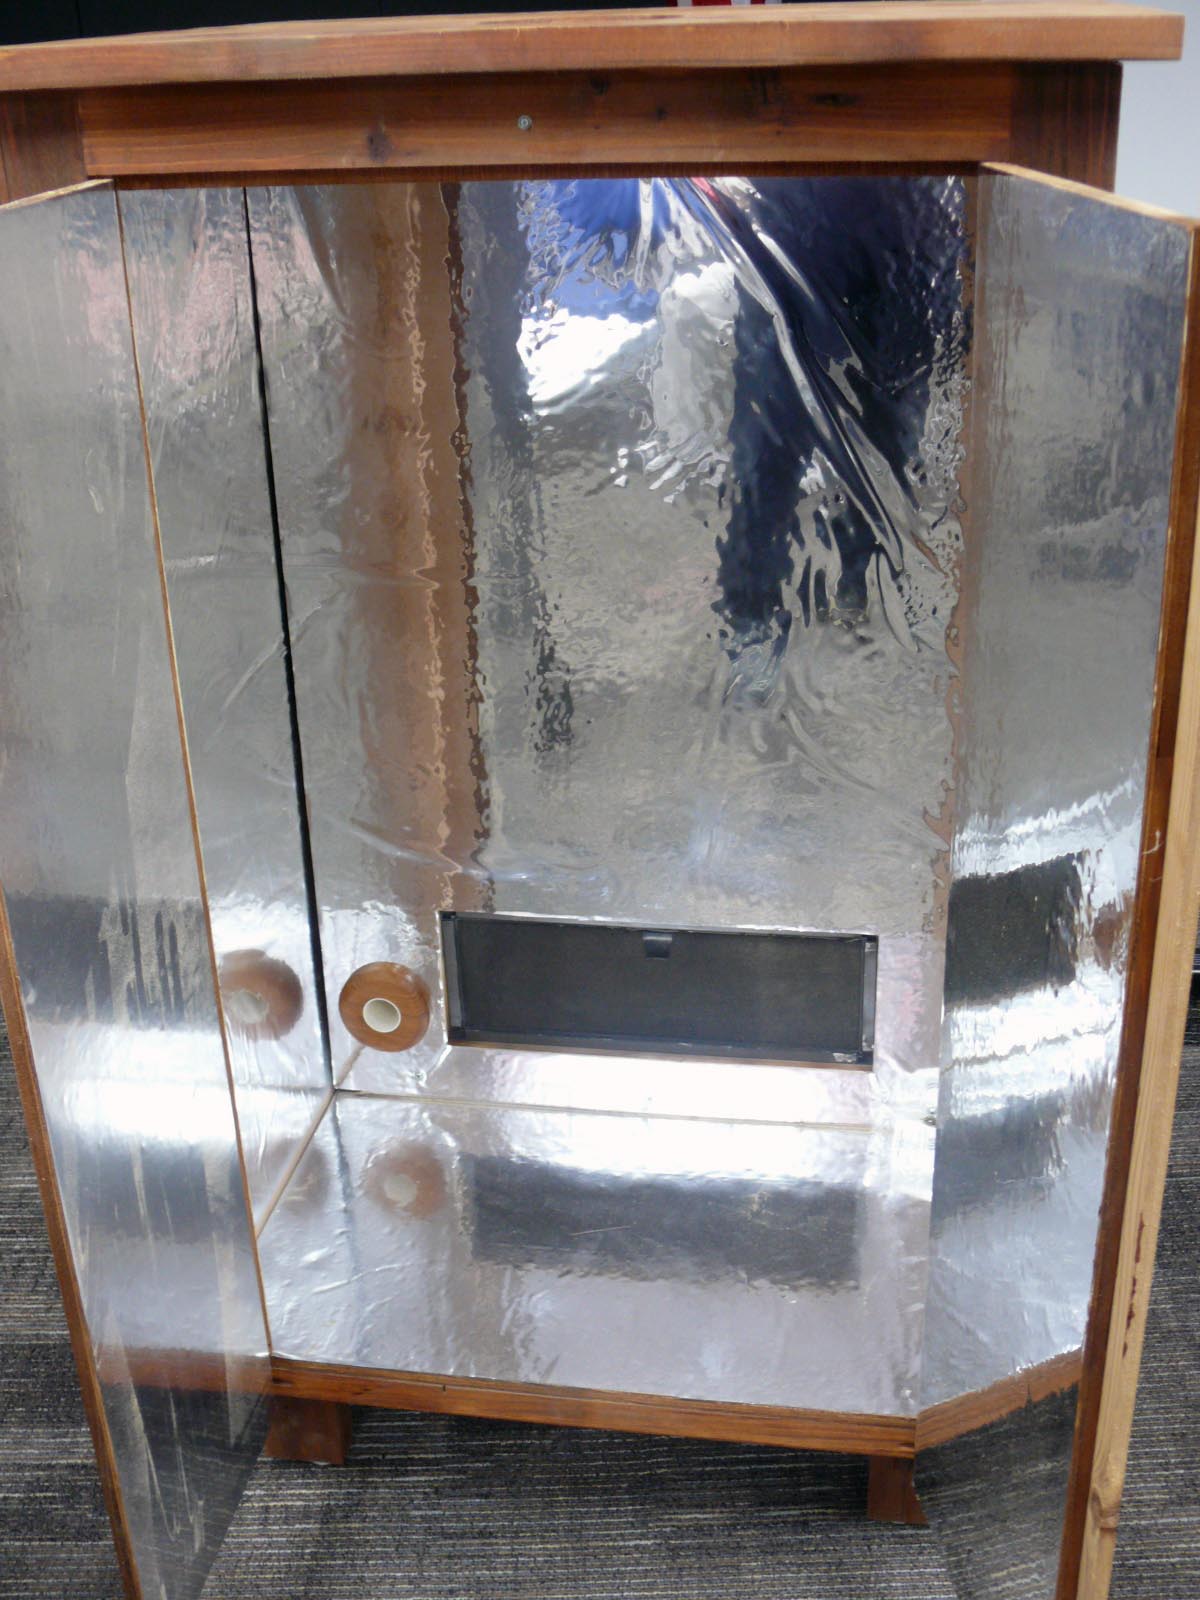


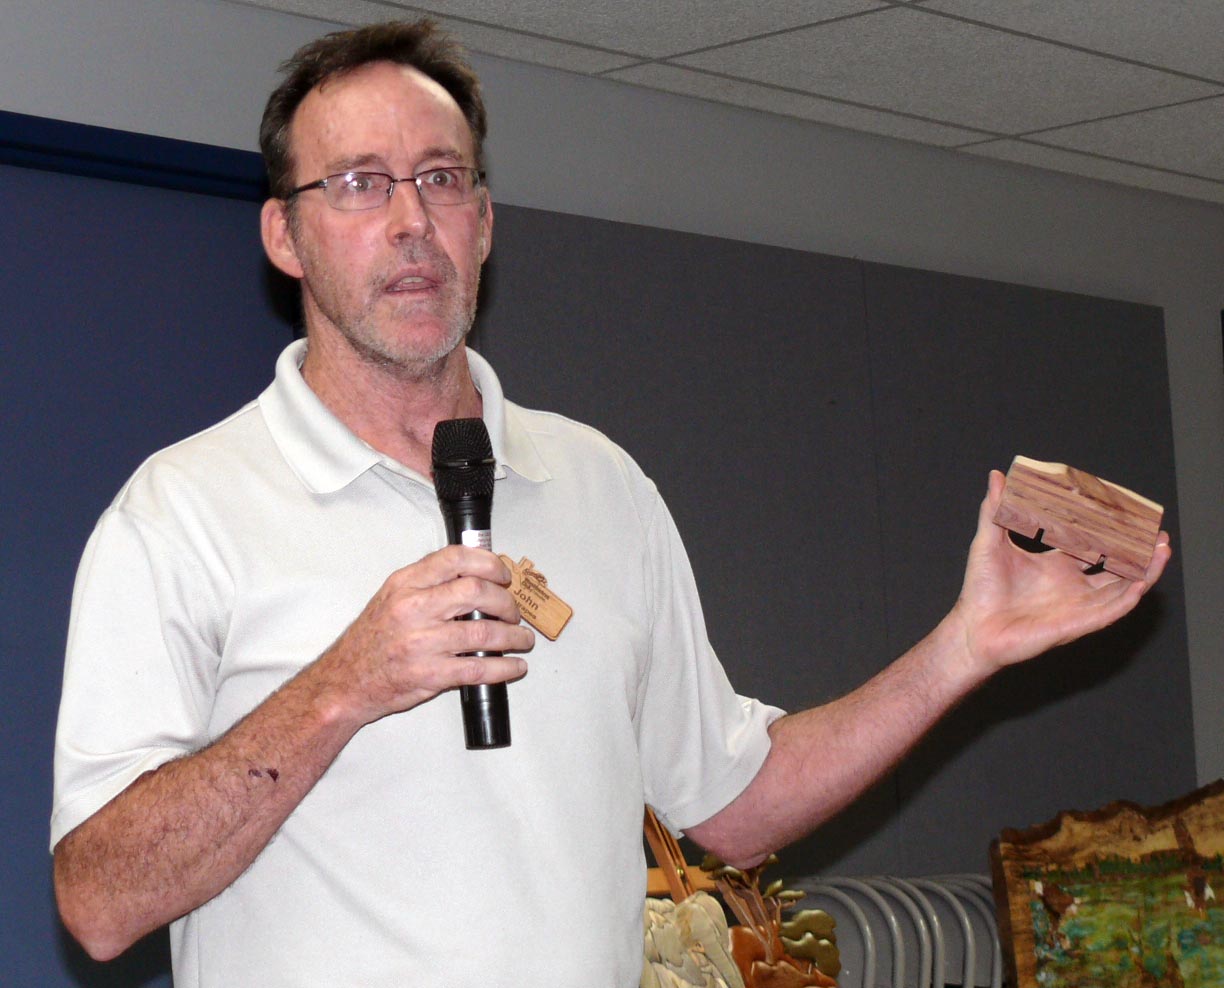
John Gay constructed this grow cabinet for a
friend and explained his trials and tribulations with
Mylar.
The Mylar reflects light onto the plants.
And I thought it was a new version of a Texas smoker…. |
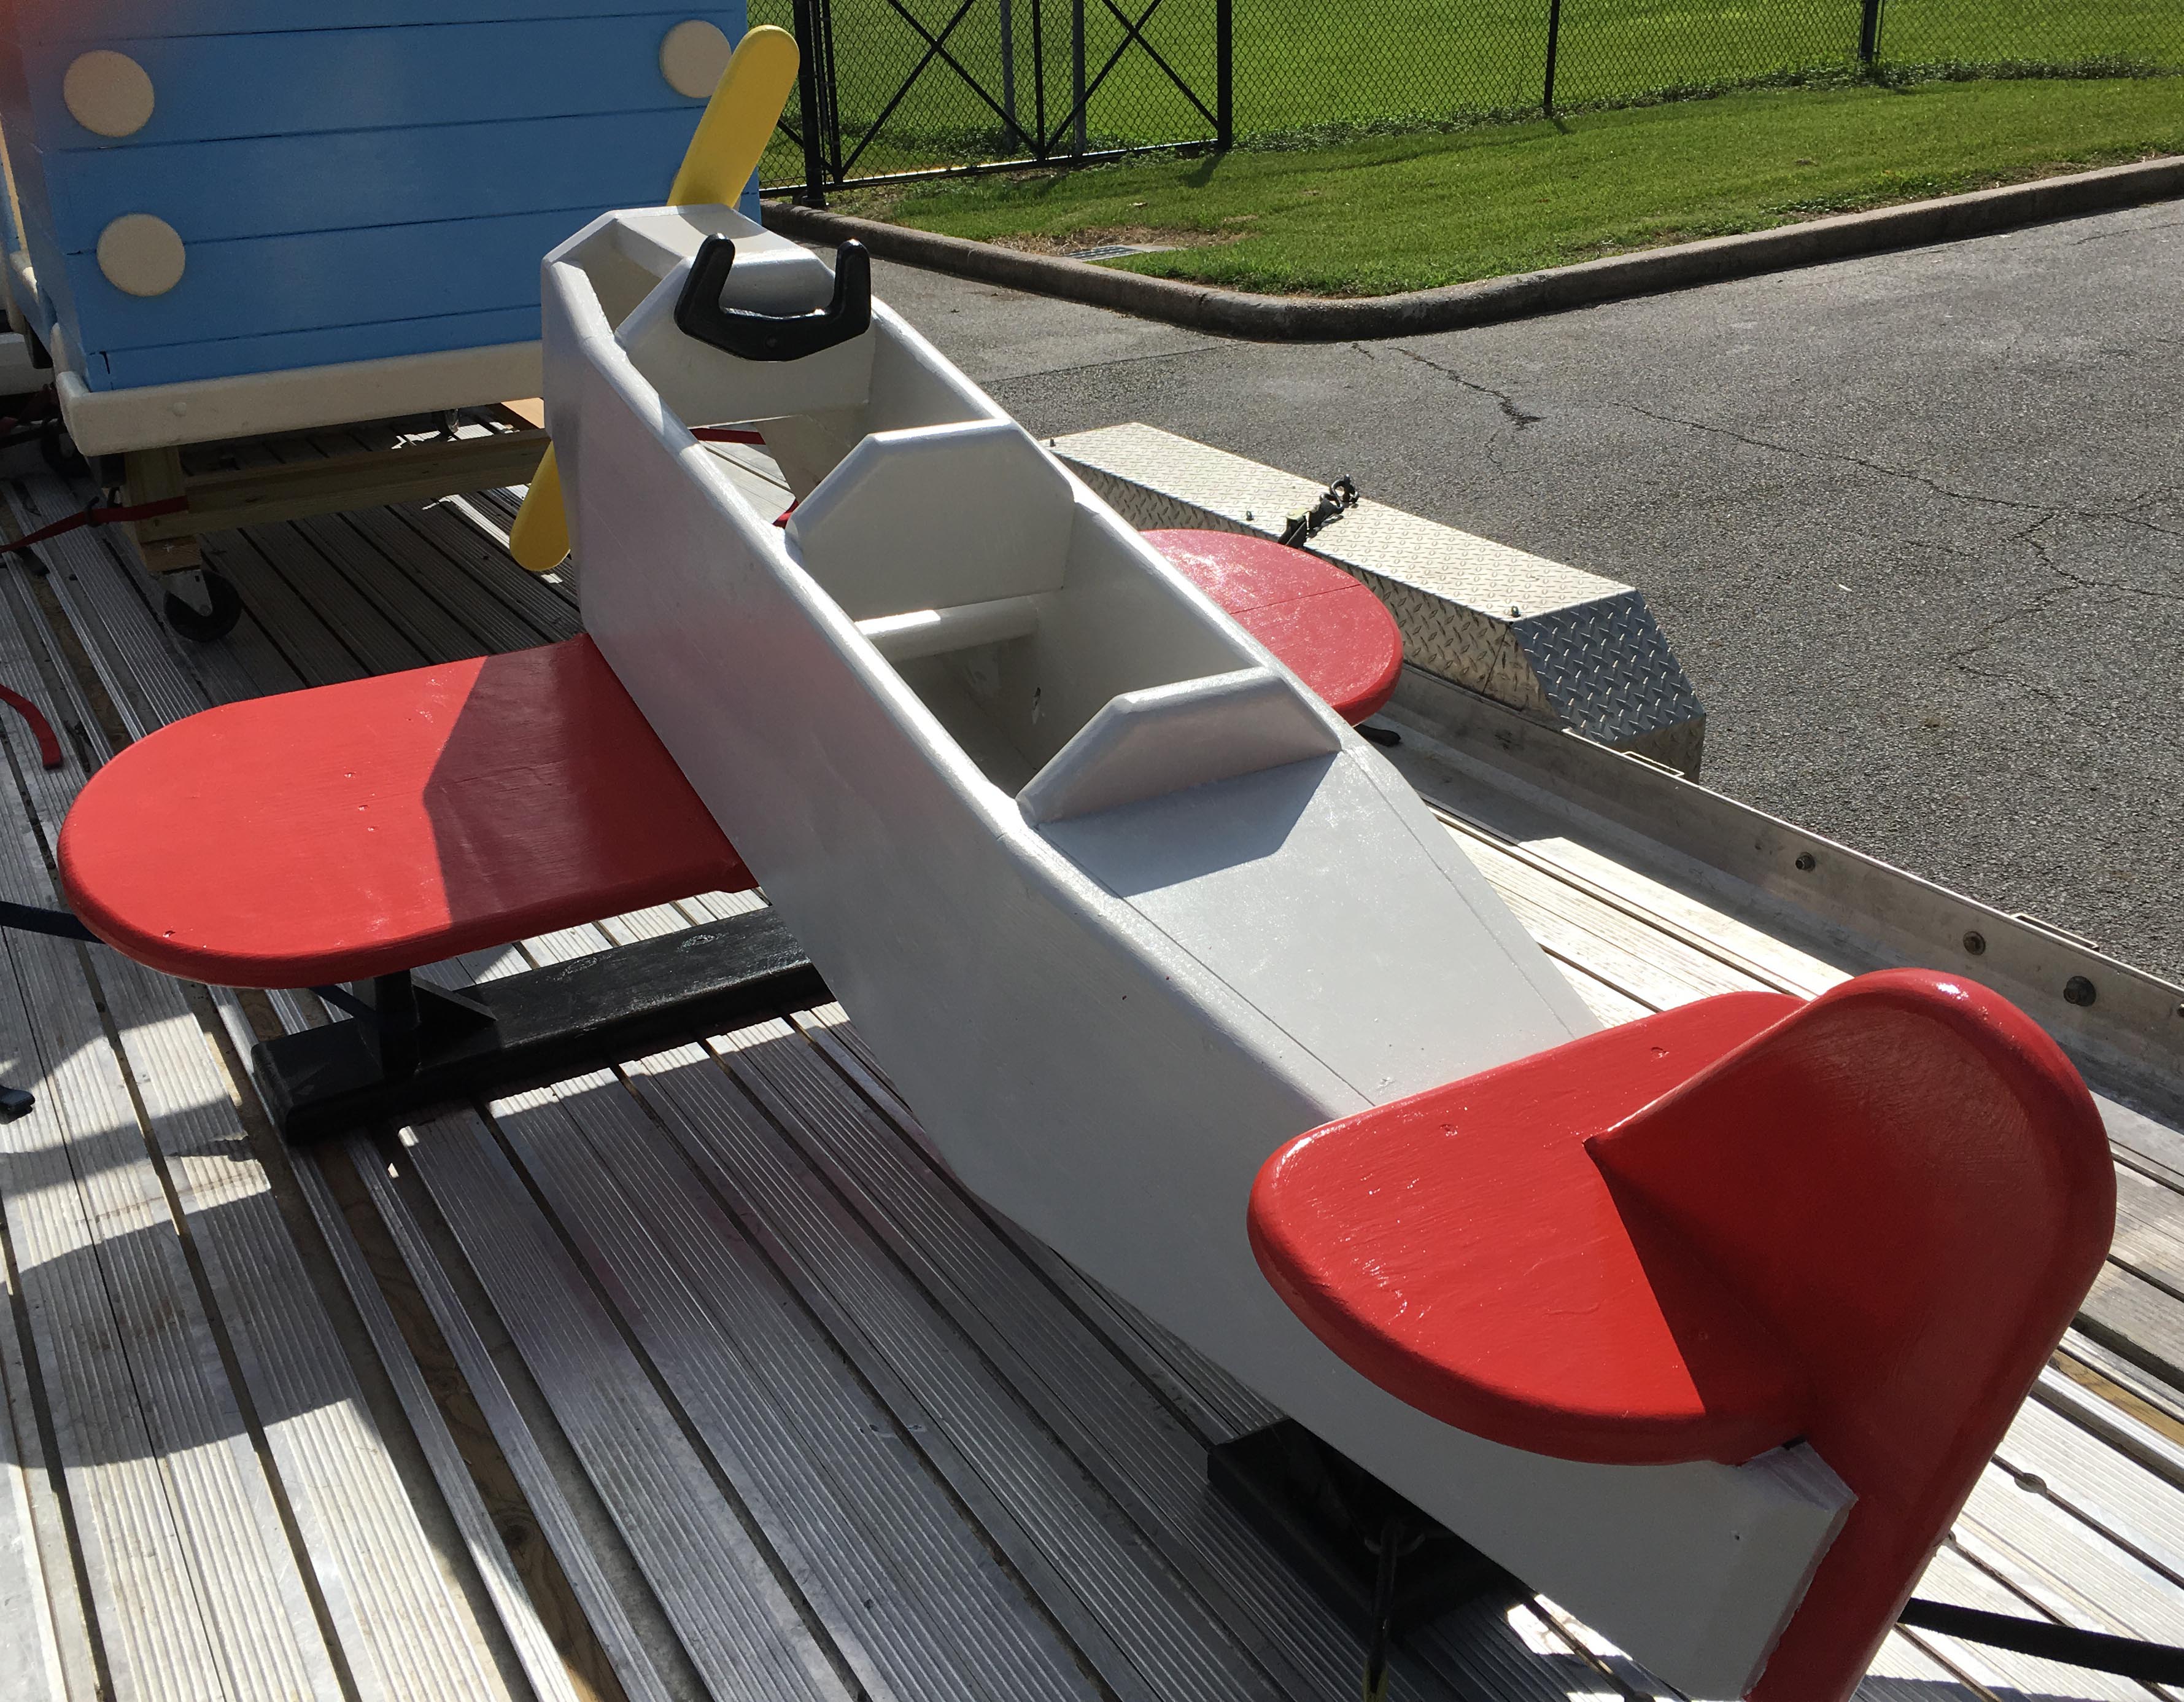

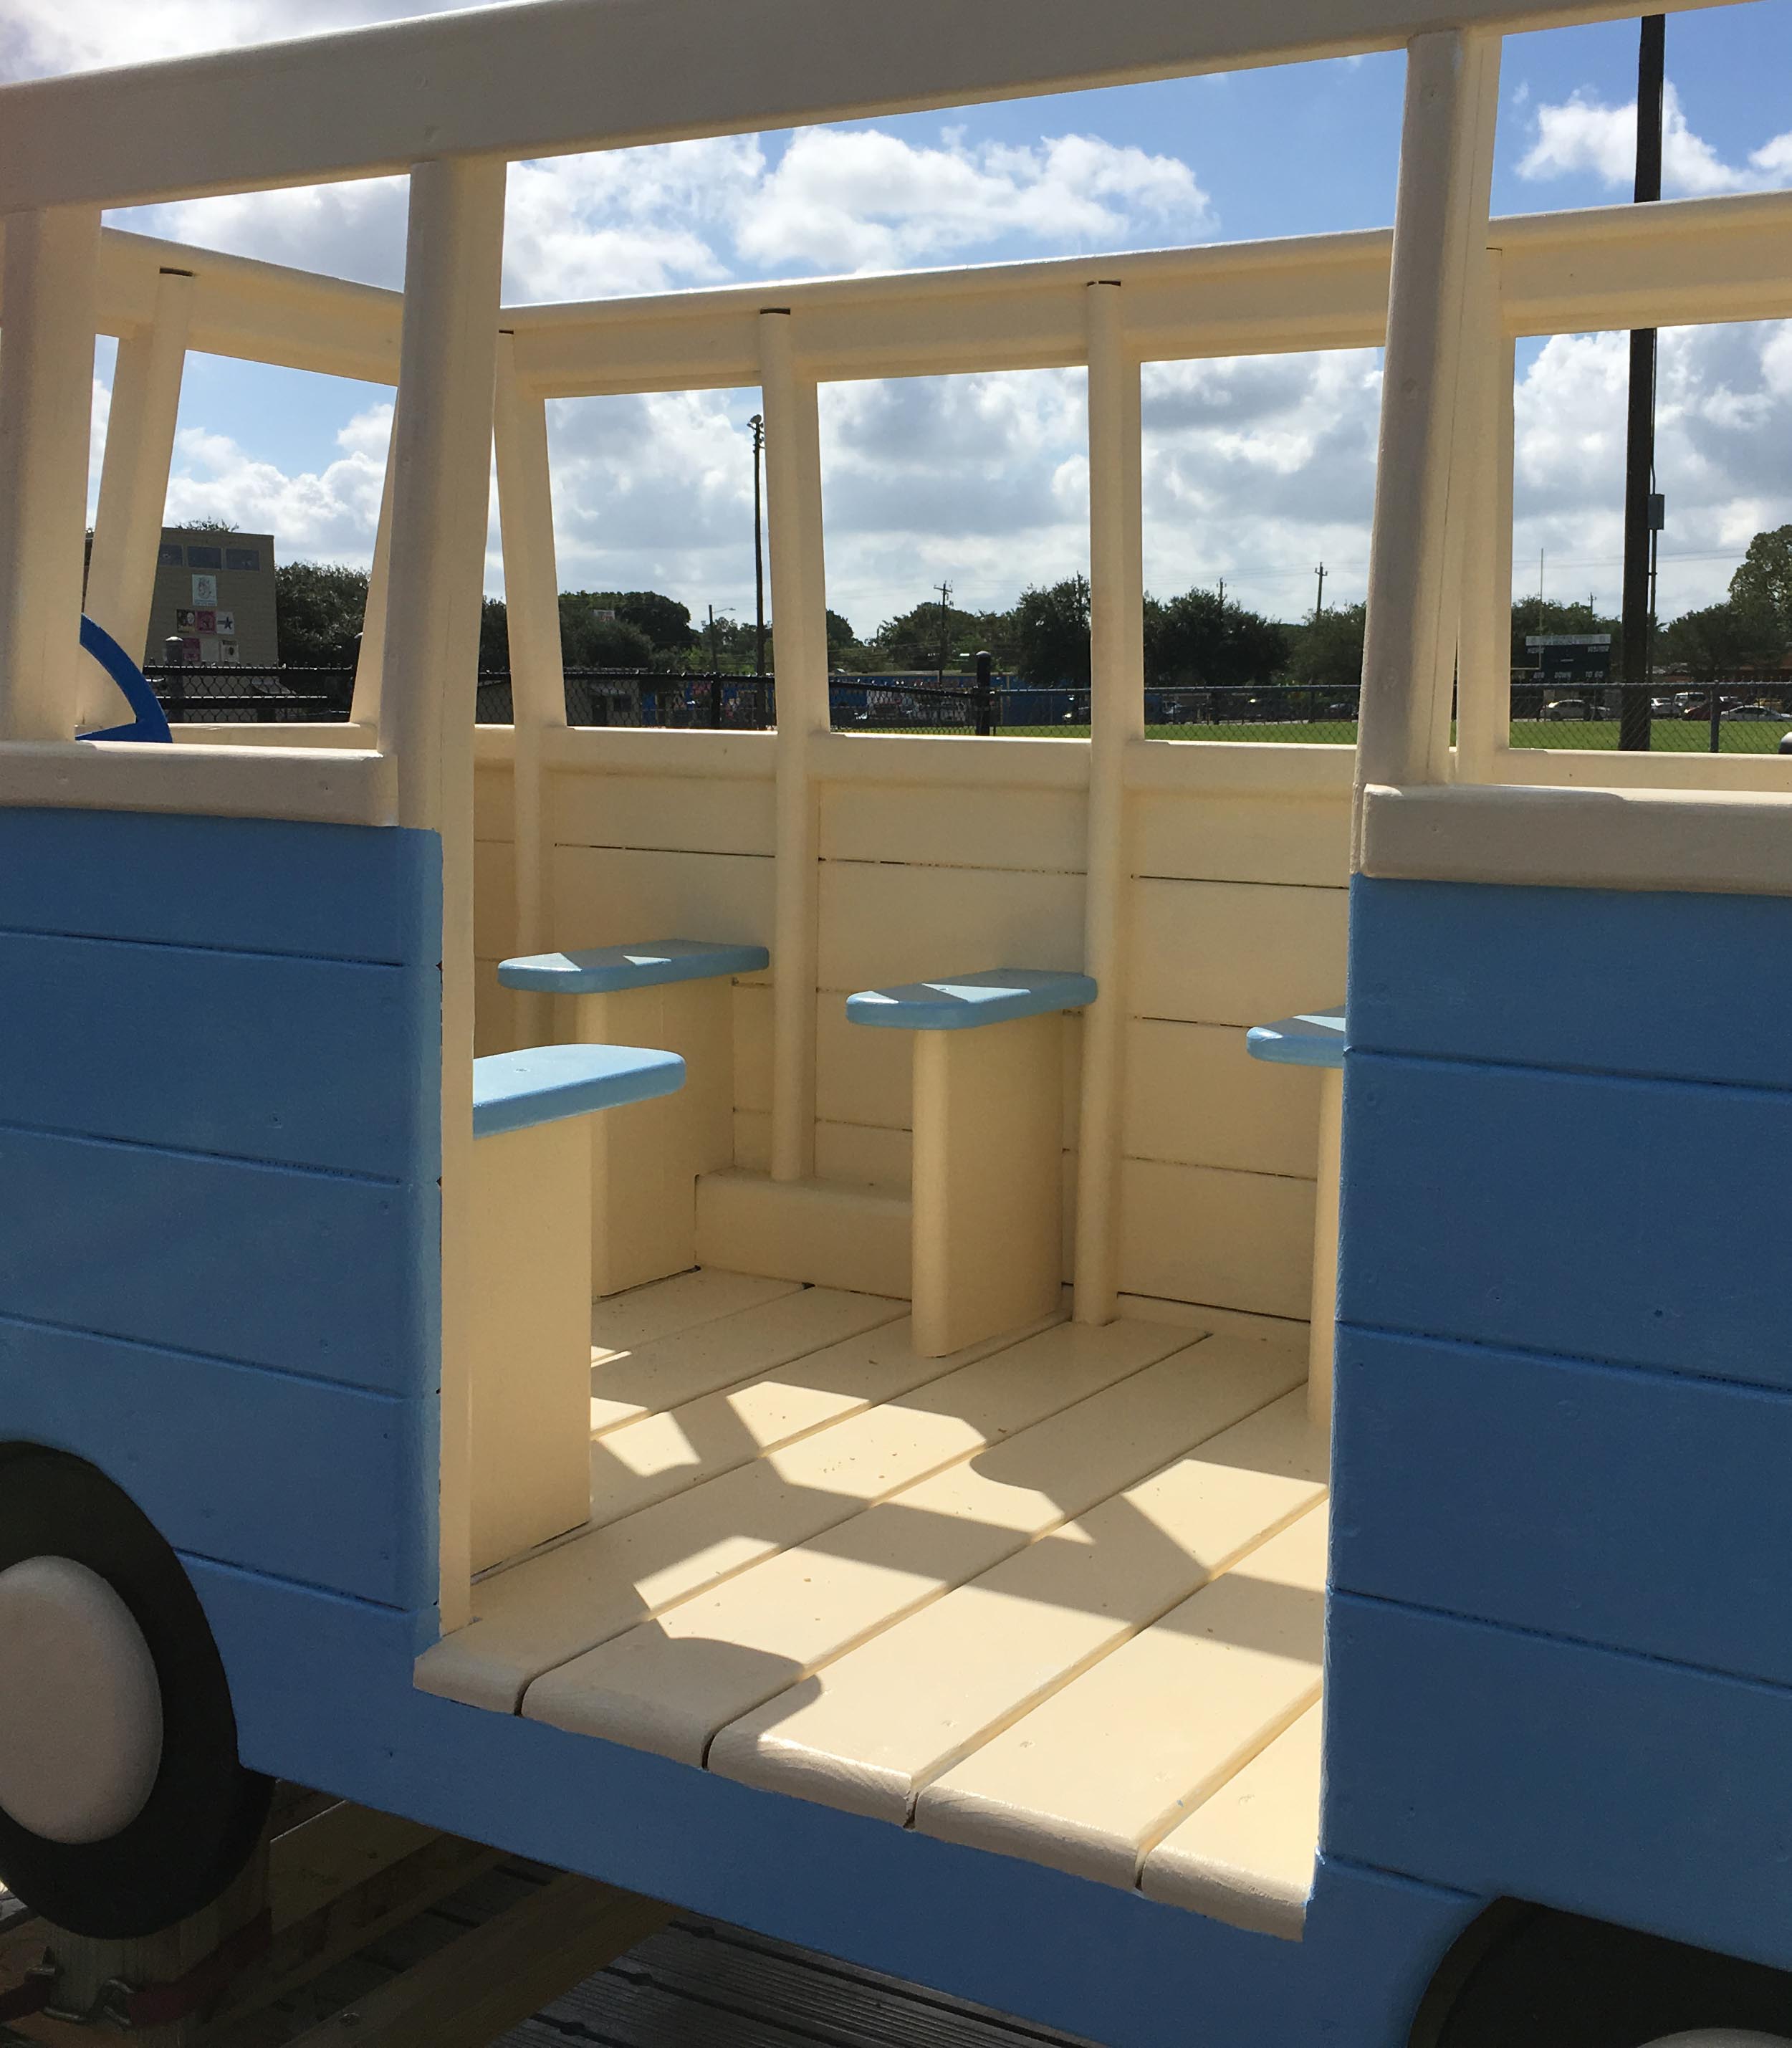
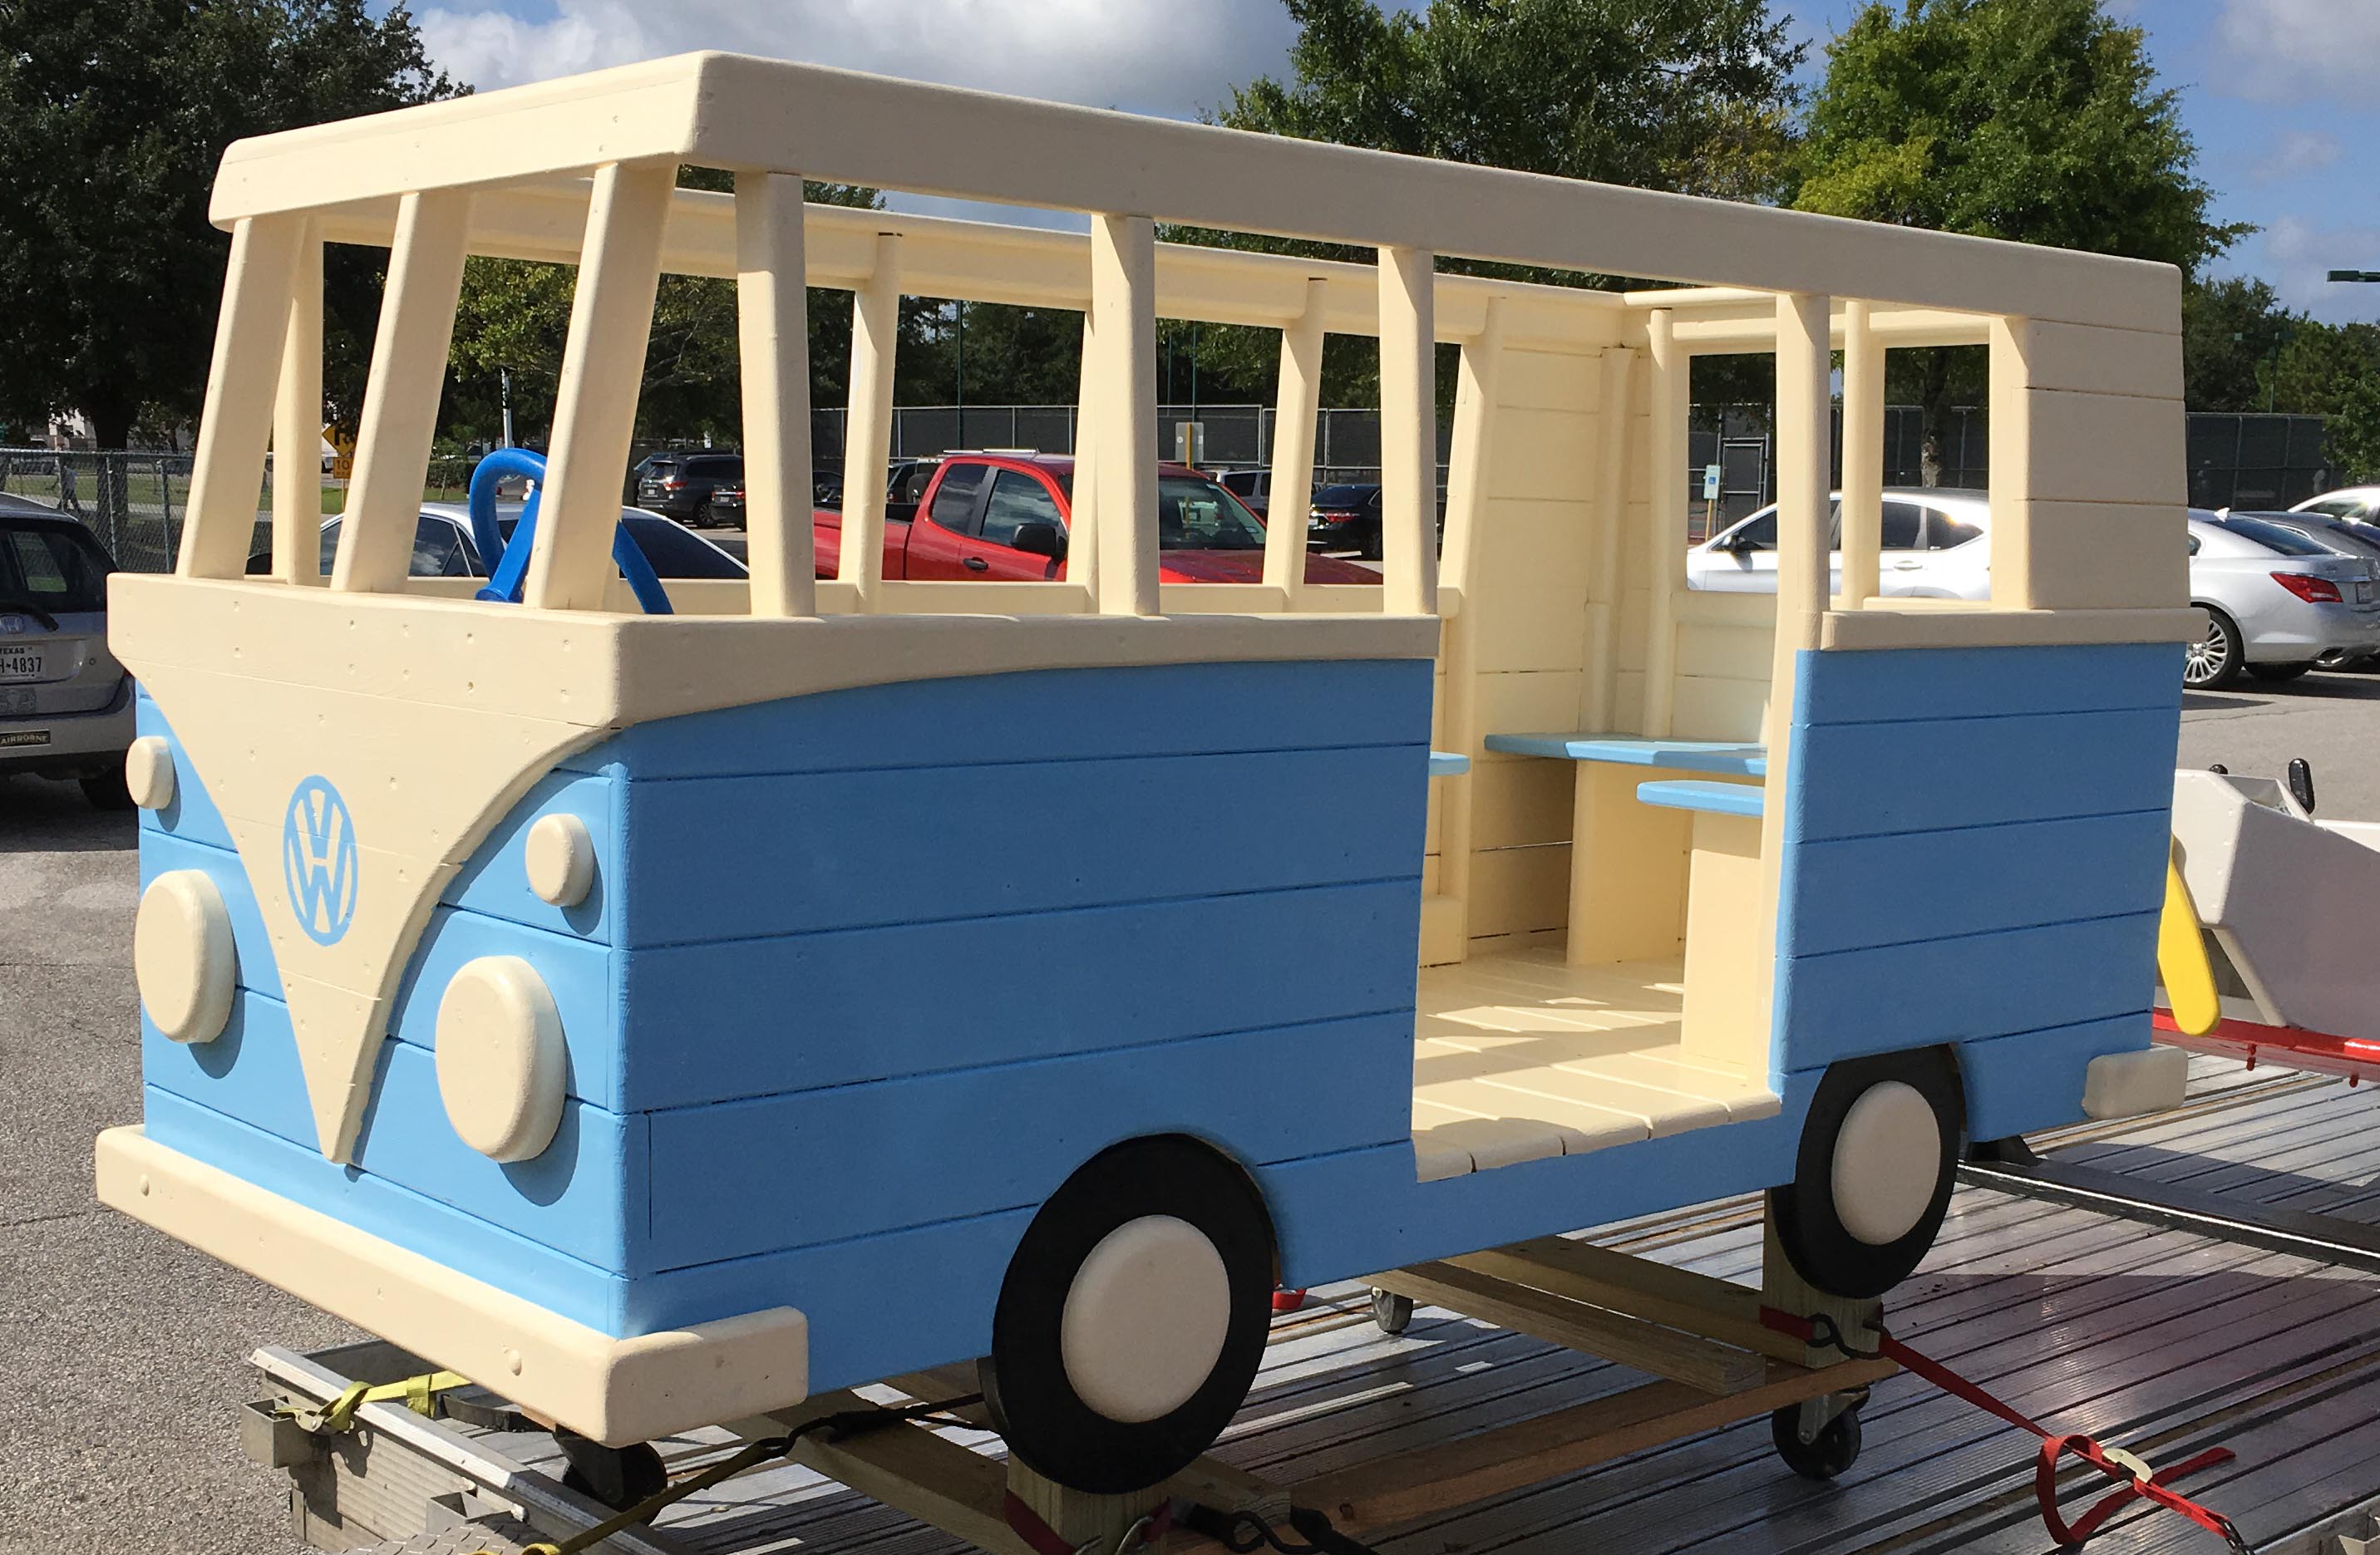
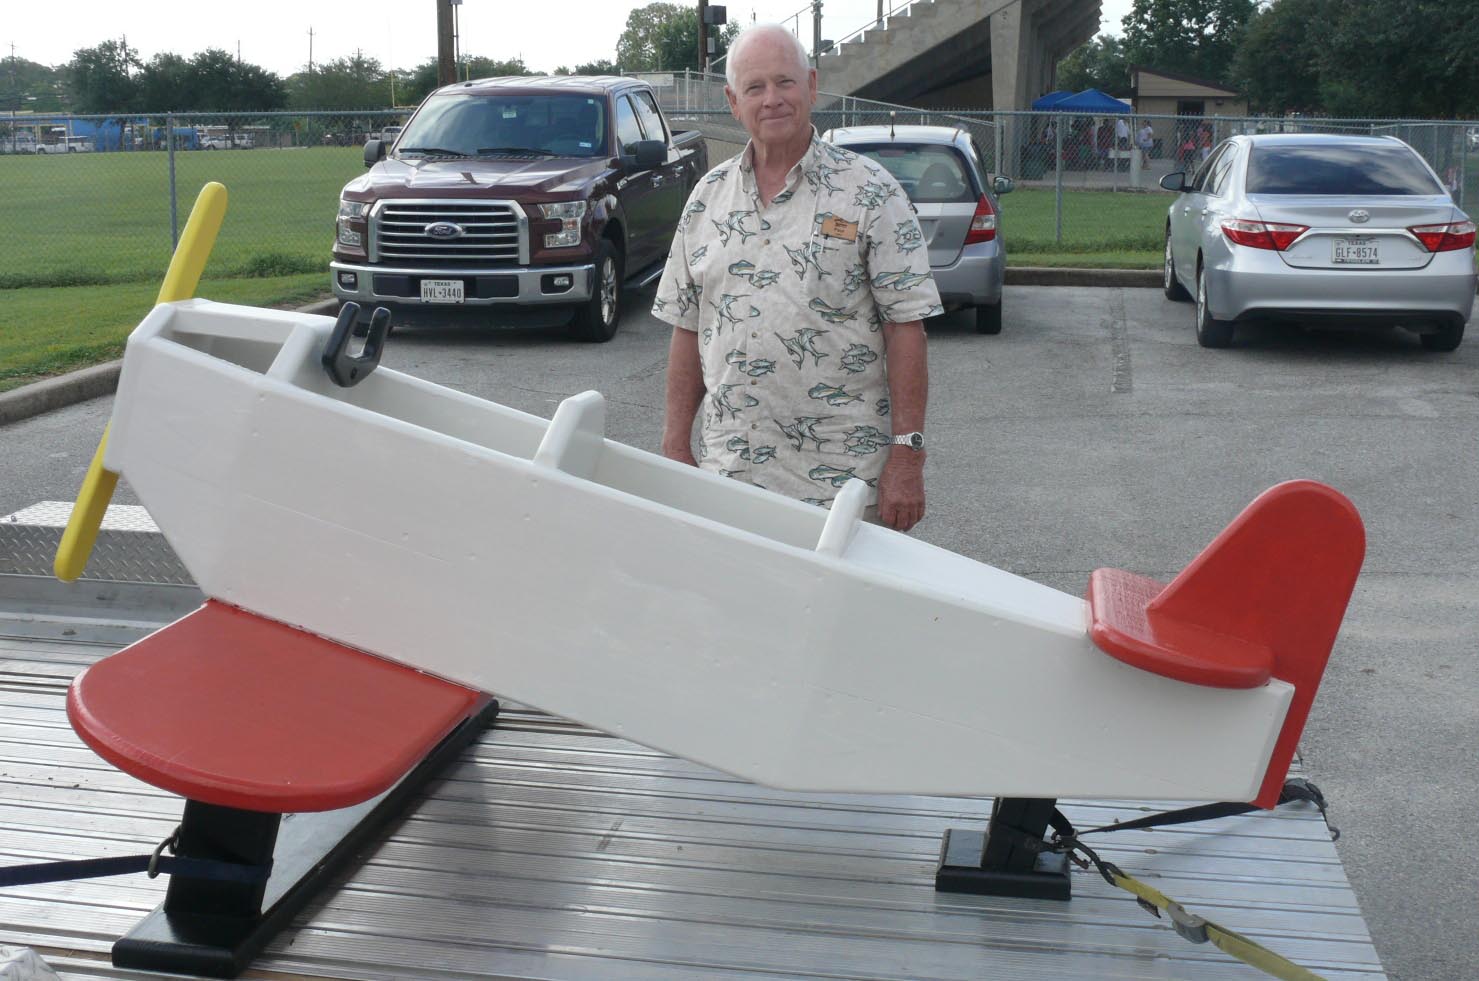
This airplane and VW bus, constructed by Paul Carr, is destined for a
day care playground at the Grace United Methodist Church in the Heights.
Now kids can pretend to be Hippies as well as pilots. |
||


 Because it is hard and brittle sharp tools are the key to working with ipe, says Peter Doe about his tiled outdoor tables. To make sliding dovetails joints Peter had to do quite a bit of “fiddling” to set up his router table to get it just right. Peter said that because of the interlocking ipe grain you have to be careful of tear-out and that ipe splinters are sharp and brittle and will penetrate deeper – that would be a big ouch! Ipe sawdust is a very fine irritant also. Read about how Peter glued and finished his tables. |
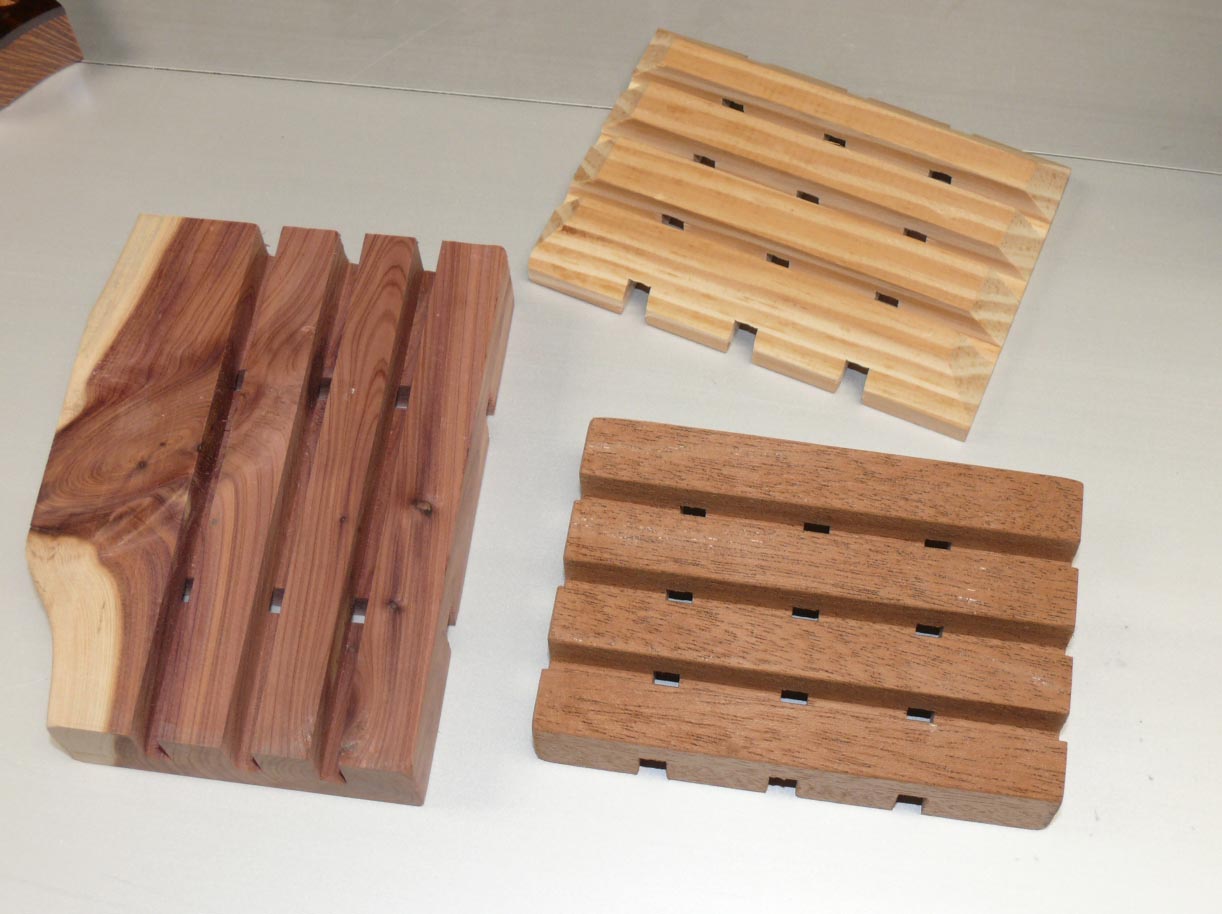
 Hoping to sell for “big” bucks at the November
craft show in Missouri City, John Lastrapes crafted these soap holders
of aromatic cedar and mahogany. John wanted a project that had a minimum
amount of cuts. Maybe John
should sell expensive designer soap and offer the holders for free?? |

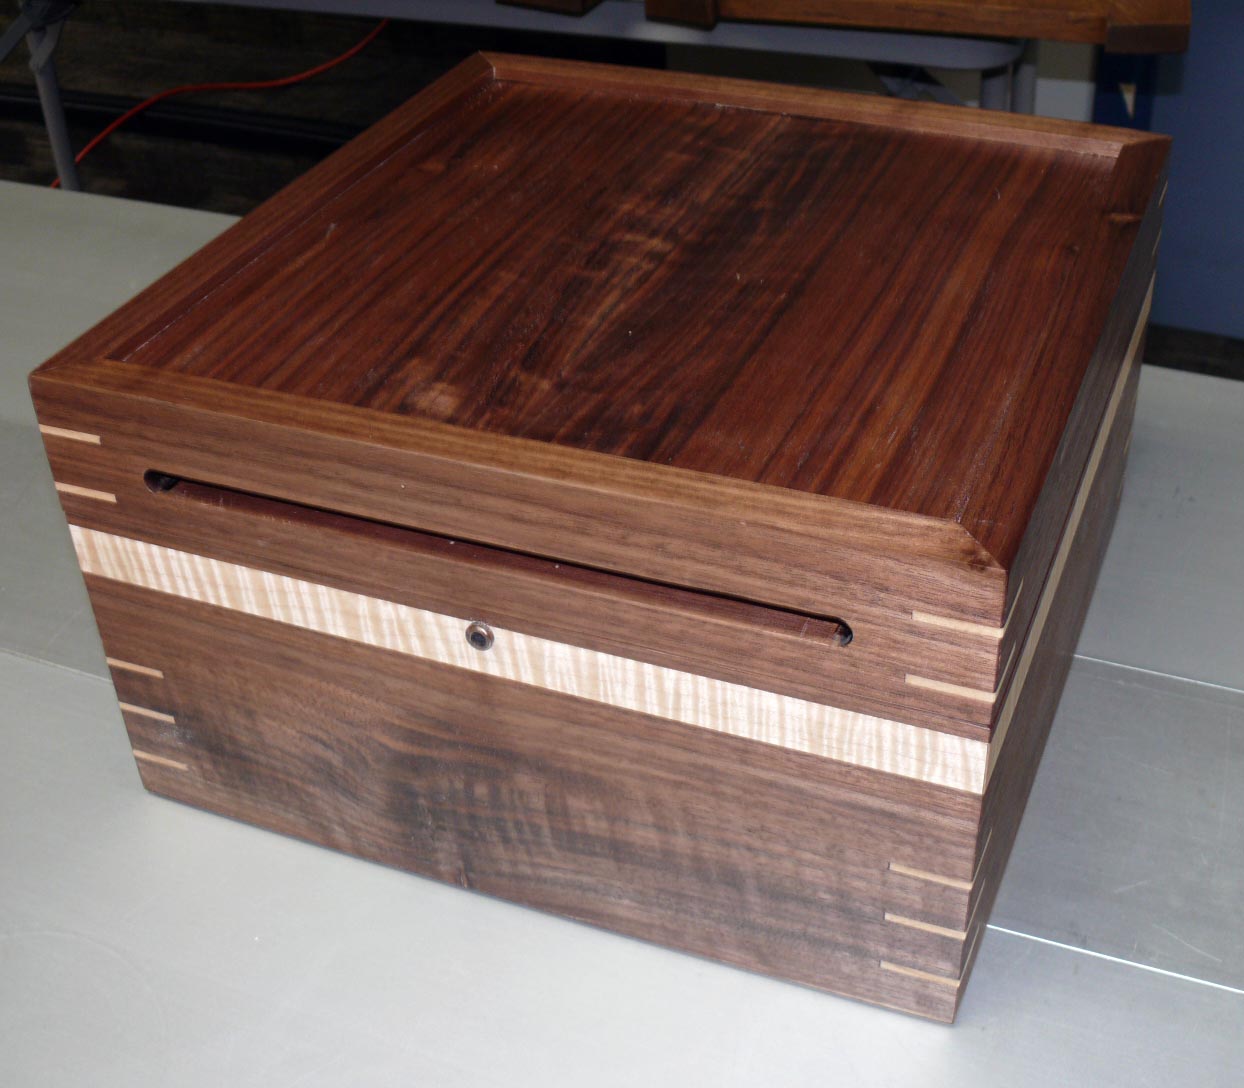
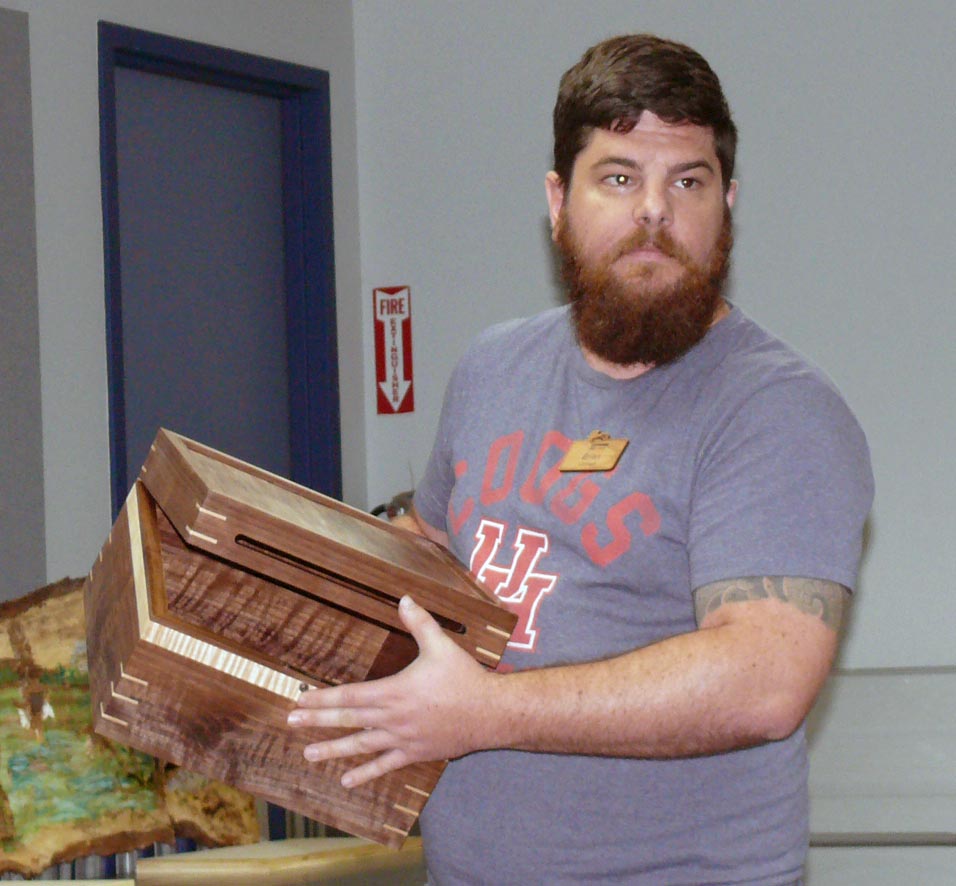
Brian Lenhart crafted this walnut and curly maple card box for his
wedding in January then
finished with three or four coats of ArmorSeal.
Congrats Brian!
Hmmm…. are you talking wedding announcement RSVPs or recipe cards? |
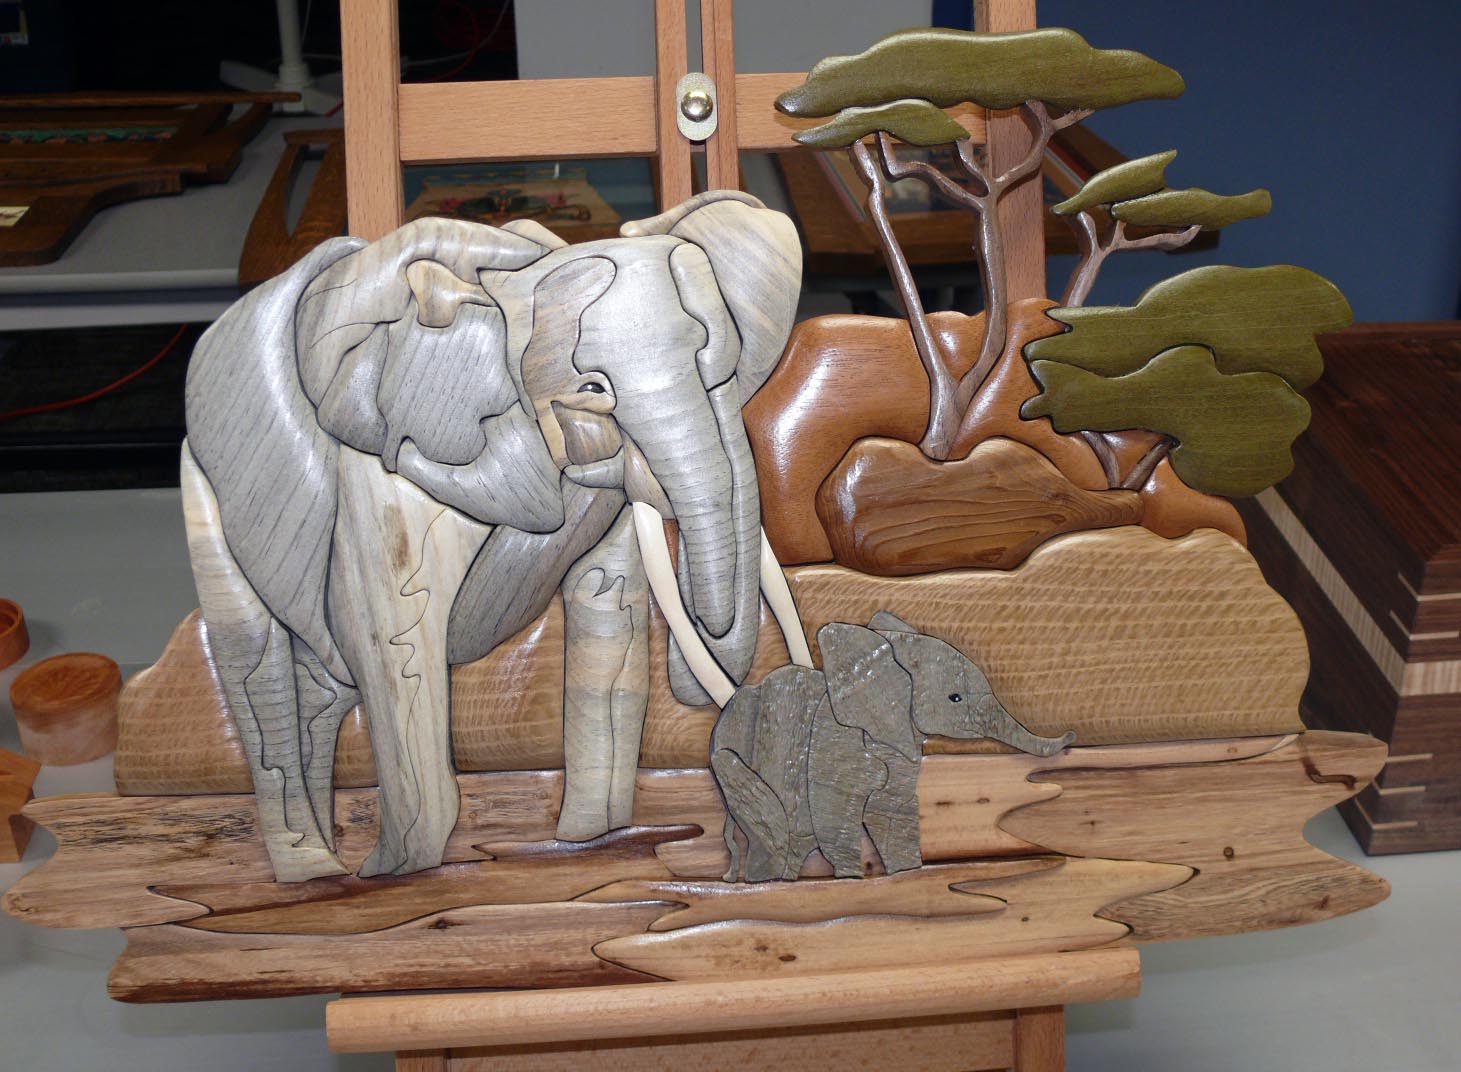
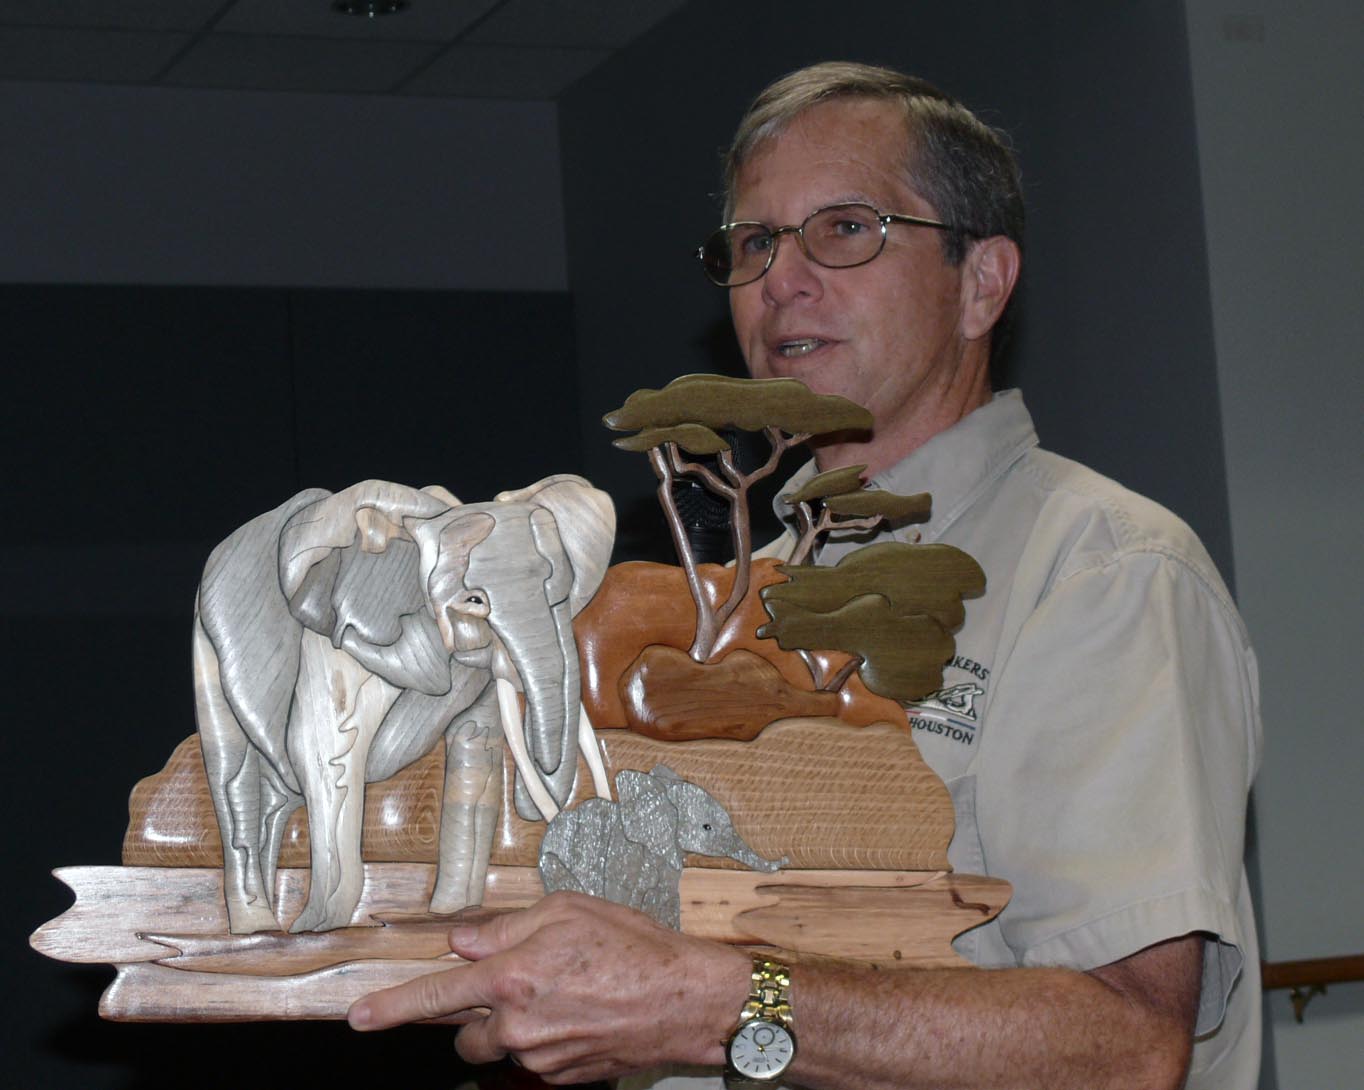
From a pattern by
Bruce Worthington, Steve Wavro
crafted this intarsia elephant which he completed, coincidently, just
before a baby elephant was born at the Houston zoo.
Steve used many different woods, some donated by WWCH members,
and after having just received some pieces of ivory from another WWCH
member, Steve will attempt to remove the tusks of aspen and replace with
ivory. |
||

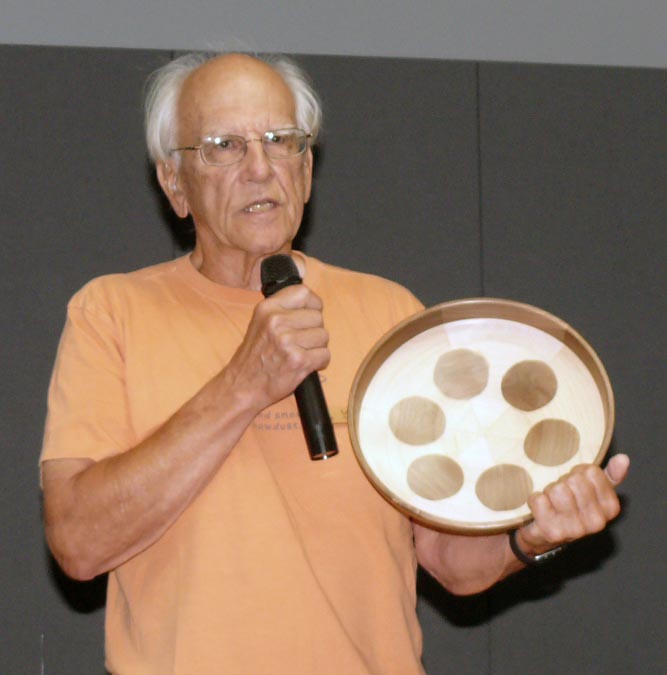
Loren Gideon explained how he set up and used his router to make his
oval shaped bowl of poplar. |

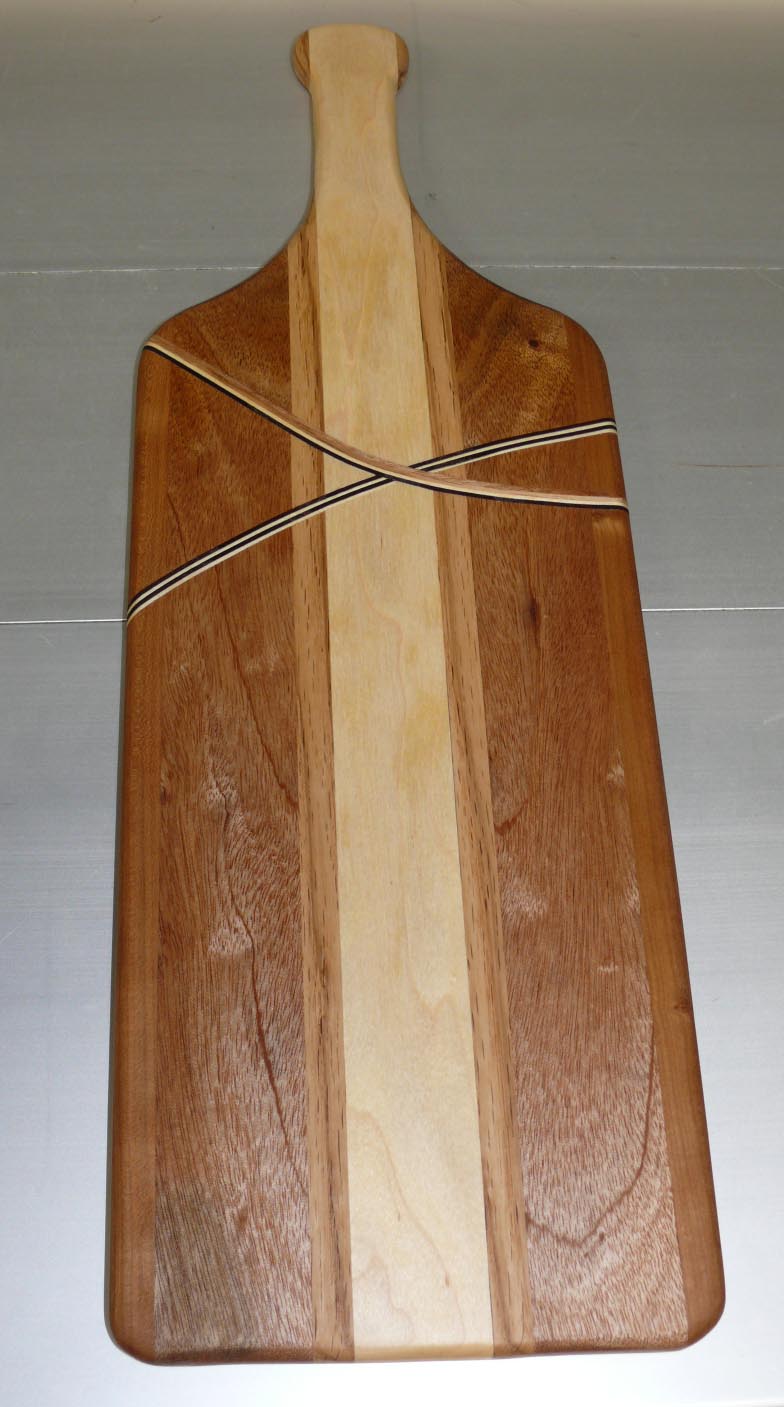
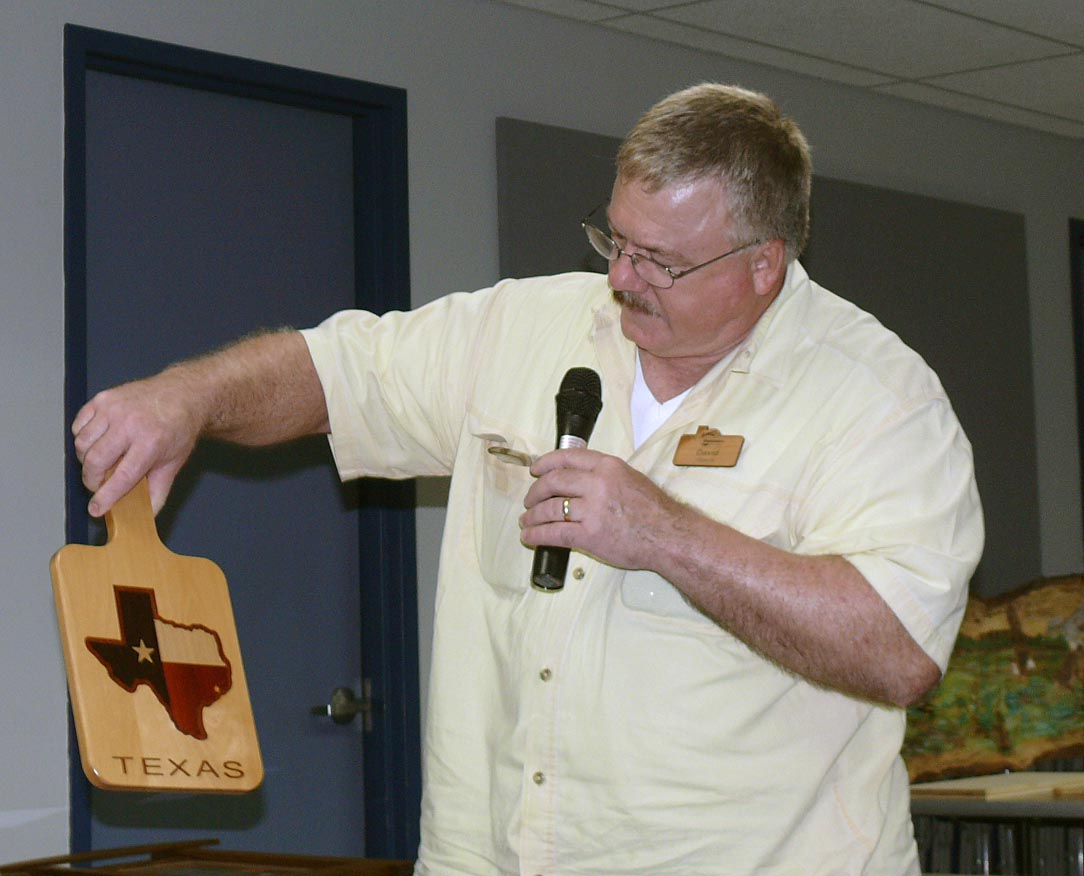 The Texas cheese board was crafted by David Glasco for a friend in Germany – maybe for Dutch cheese?? |
 Wanting to try something different, Rick Spacek had to go real slooooo scroll sawing this two inch thick spalted pecan. Rick finished with acrylic paint and stain. |
|||
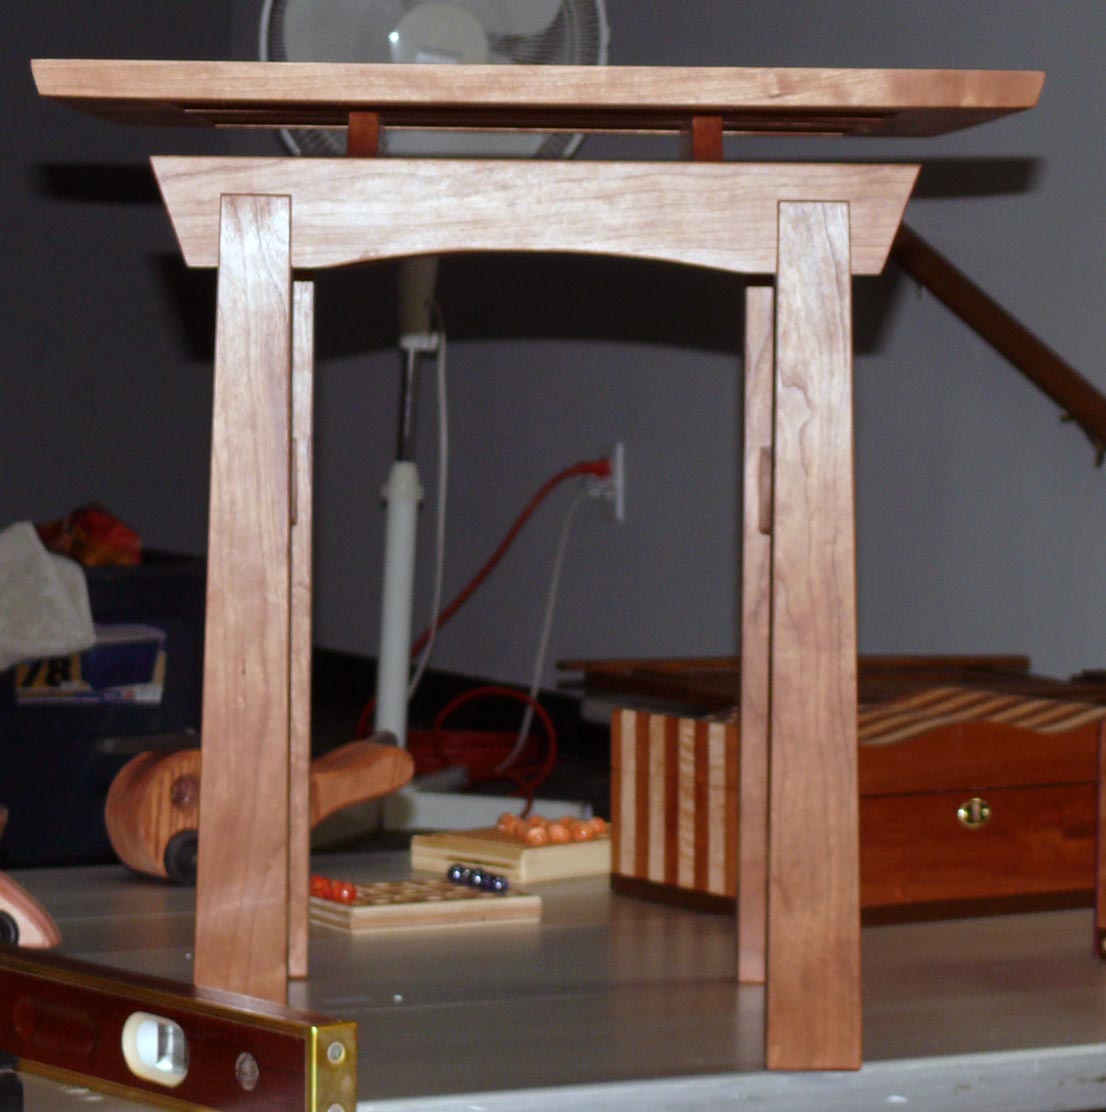
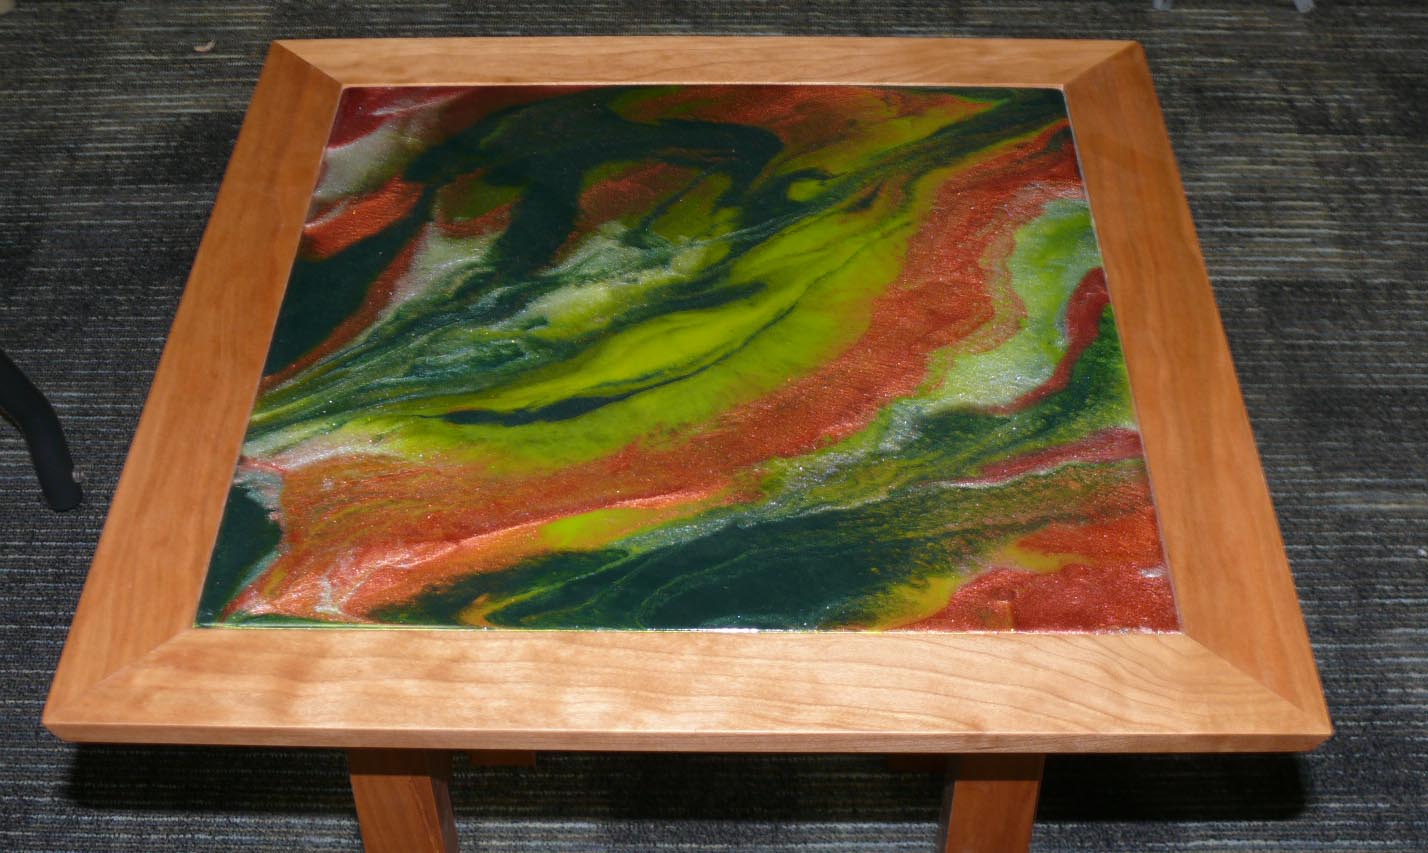
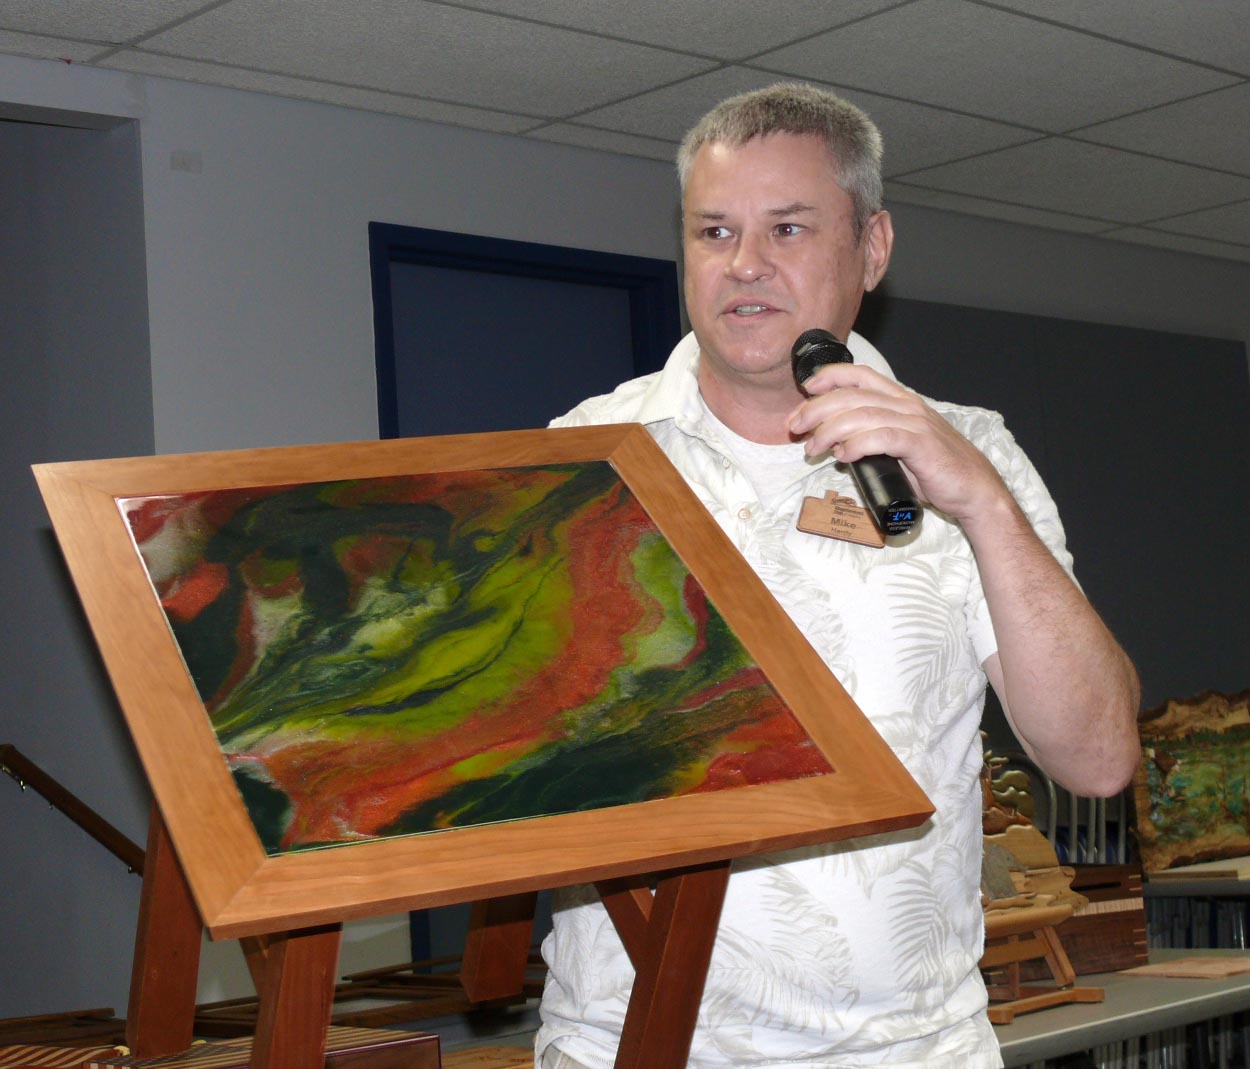 Mike Hardy took an epoxy resin piece of art from an art market crafter and integrated it into a table that he made of cherry. It is the first of a series working with the artist. Mike finished with three coats of Waterlox and plans to sell it at an art show. |
|
 |
 |
||
|
Peter Doe's description on gluing and finishing of his outdoor tiled tables: The edging for the tops was glued using System
3 general purpose epoxy (I got mine from Woodcraft). Because the edging
is made from multiple parts glued to curved surfaces, I needed
gap-filling capability, so I used wood flour as a filler. This thickens
the epoxy to where it does not run, even when first mixed up. Paint on
an unthickened coat first, then immediately go over it with the filled
version and assemble the parts. Because it is epoxy, no clamping is
needed (indeed, is undesirable because it tends to give too thin a glue
line). I set everything on a sheet of wax paper for the assembly. Warning #1- in Houston temperatures, the stuff
will start to cure before you are finished unless you are quick. A good
dry assembly test is essential to make sure everything fits. Warning #2 - The wood flour is an insulator. It
traps the heat in the epoxy and drastically reduces the cure time. This
caught me out the first time I did it. You have to work fast. All the other wood to wood gluing (sliding
dovetails) was with Titebond type III. The glass tile was set using thinset Portland
cement. That was to guarantee outdoor freeze thaw resistance. I worked
with small amounts at a time and did each top in multiple sessions. It
was then grouted like regular tile and sealed. The marine plywood under
the thinset was sealed first with LevelQuick acrylic primer - not sure
if that was strictly necessary. The finish started with a coat of System 3
clear coat epoxy. This is very thin when first mixed and I painted it on
with a foam brush. It did get a bit thick before I could finish, and I
had to do some scraping to level it out before I started on the varnish.
That was followed by three coats of System 3 marine spar varnish. The
epoxy makes the wood waterproof. The varnish protects the epoxy from UV. |
|||||
|
************************************************************************************************************ |
|||||
|
Photos: Gary Rowen; Photos of Paul Carr's playground addition by Paul Carr; Description on gluing and finishing of Peter Doe's outdoor tables by Peter Doe |
|||||
Back to Top of Page